Introduction
Perfectly groomed nails are achievable at home by using learning a way to trim nail edges and shape nails like a seasoned. Proper strategies prevent splits, ingrown edges, and uneven growth even as improving nail health. Start with sanitized, sharp clippers and a quality report. Trim nail hints instantly across for toenails to avoid ingrown troubles; fingernails will have slight rounding. Avoid slicing too brief to defend delicate nail beds.
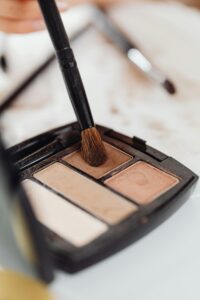
Next, shape nails into your preferred fashion—oval for softness, square for modernity, or almond for elegance. File in a single path to prevent weakening, refining edges for symmetry. Match the form for your nail bed and way of life for lasting consequences. Finish with a buffer for smoothness and nourish cuticles with oil.
With practice, you’ll shop salon journeys while keeping polished, healthy nails. Follow those steps to raise your nail care ordinary effects!
The Dual Importance of Nail Care: Hygiene and Aesthetics
Hygiene:
Nails, in particular when long or poorly maintained, trap dust, dead pores and skin cells, and microorganisms. Daily activities—cooking, gardening, or using digital gadgets—divulge nails to germs that handwashing by myself won’t absolutely do away with. For example, studies have shown that subungual regions (below the nail) harbor better bacterial counts than other elements of the hand. Improper cleaning can result in infections, while overly aggressive slicing may additionally cause ingrown nails or cuts, growing entry points for pathogens. Regular trimming and cleaning reduce those dangers, making sure nails remain hygienic and intact.
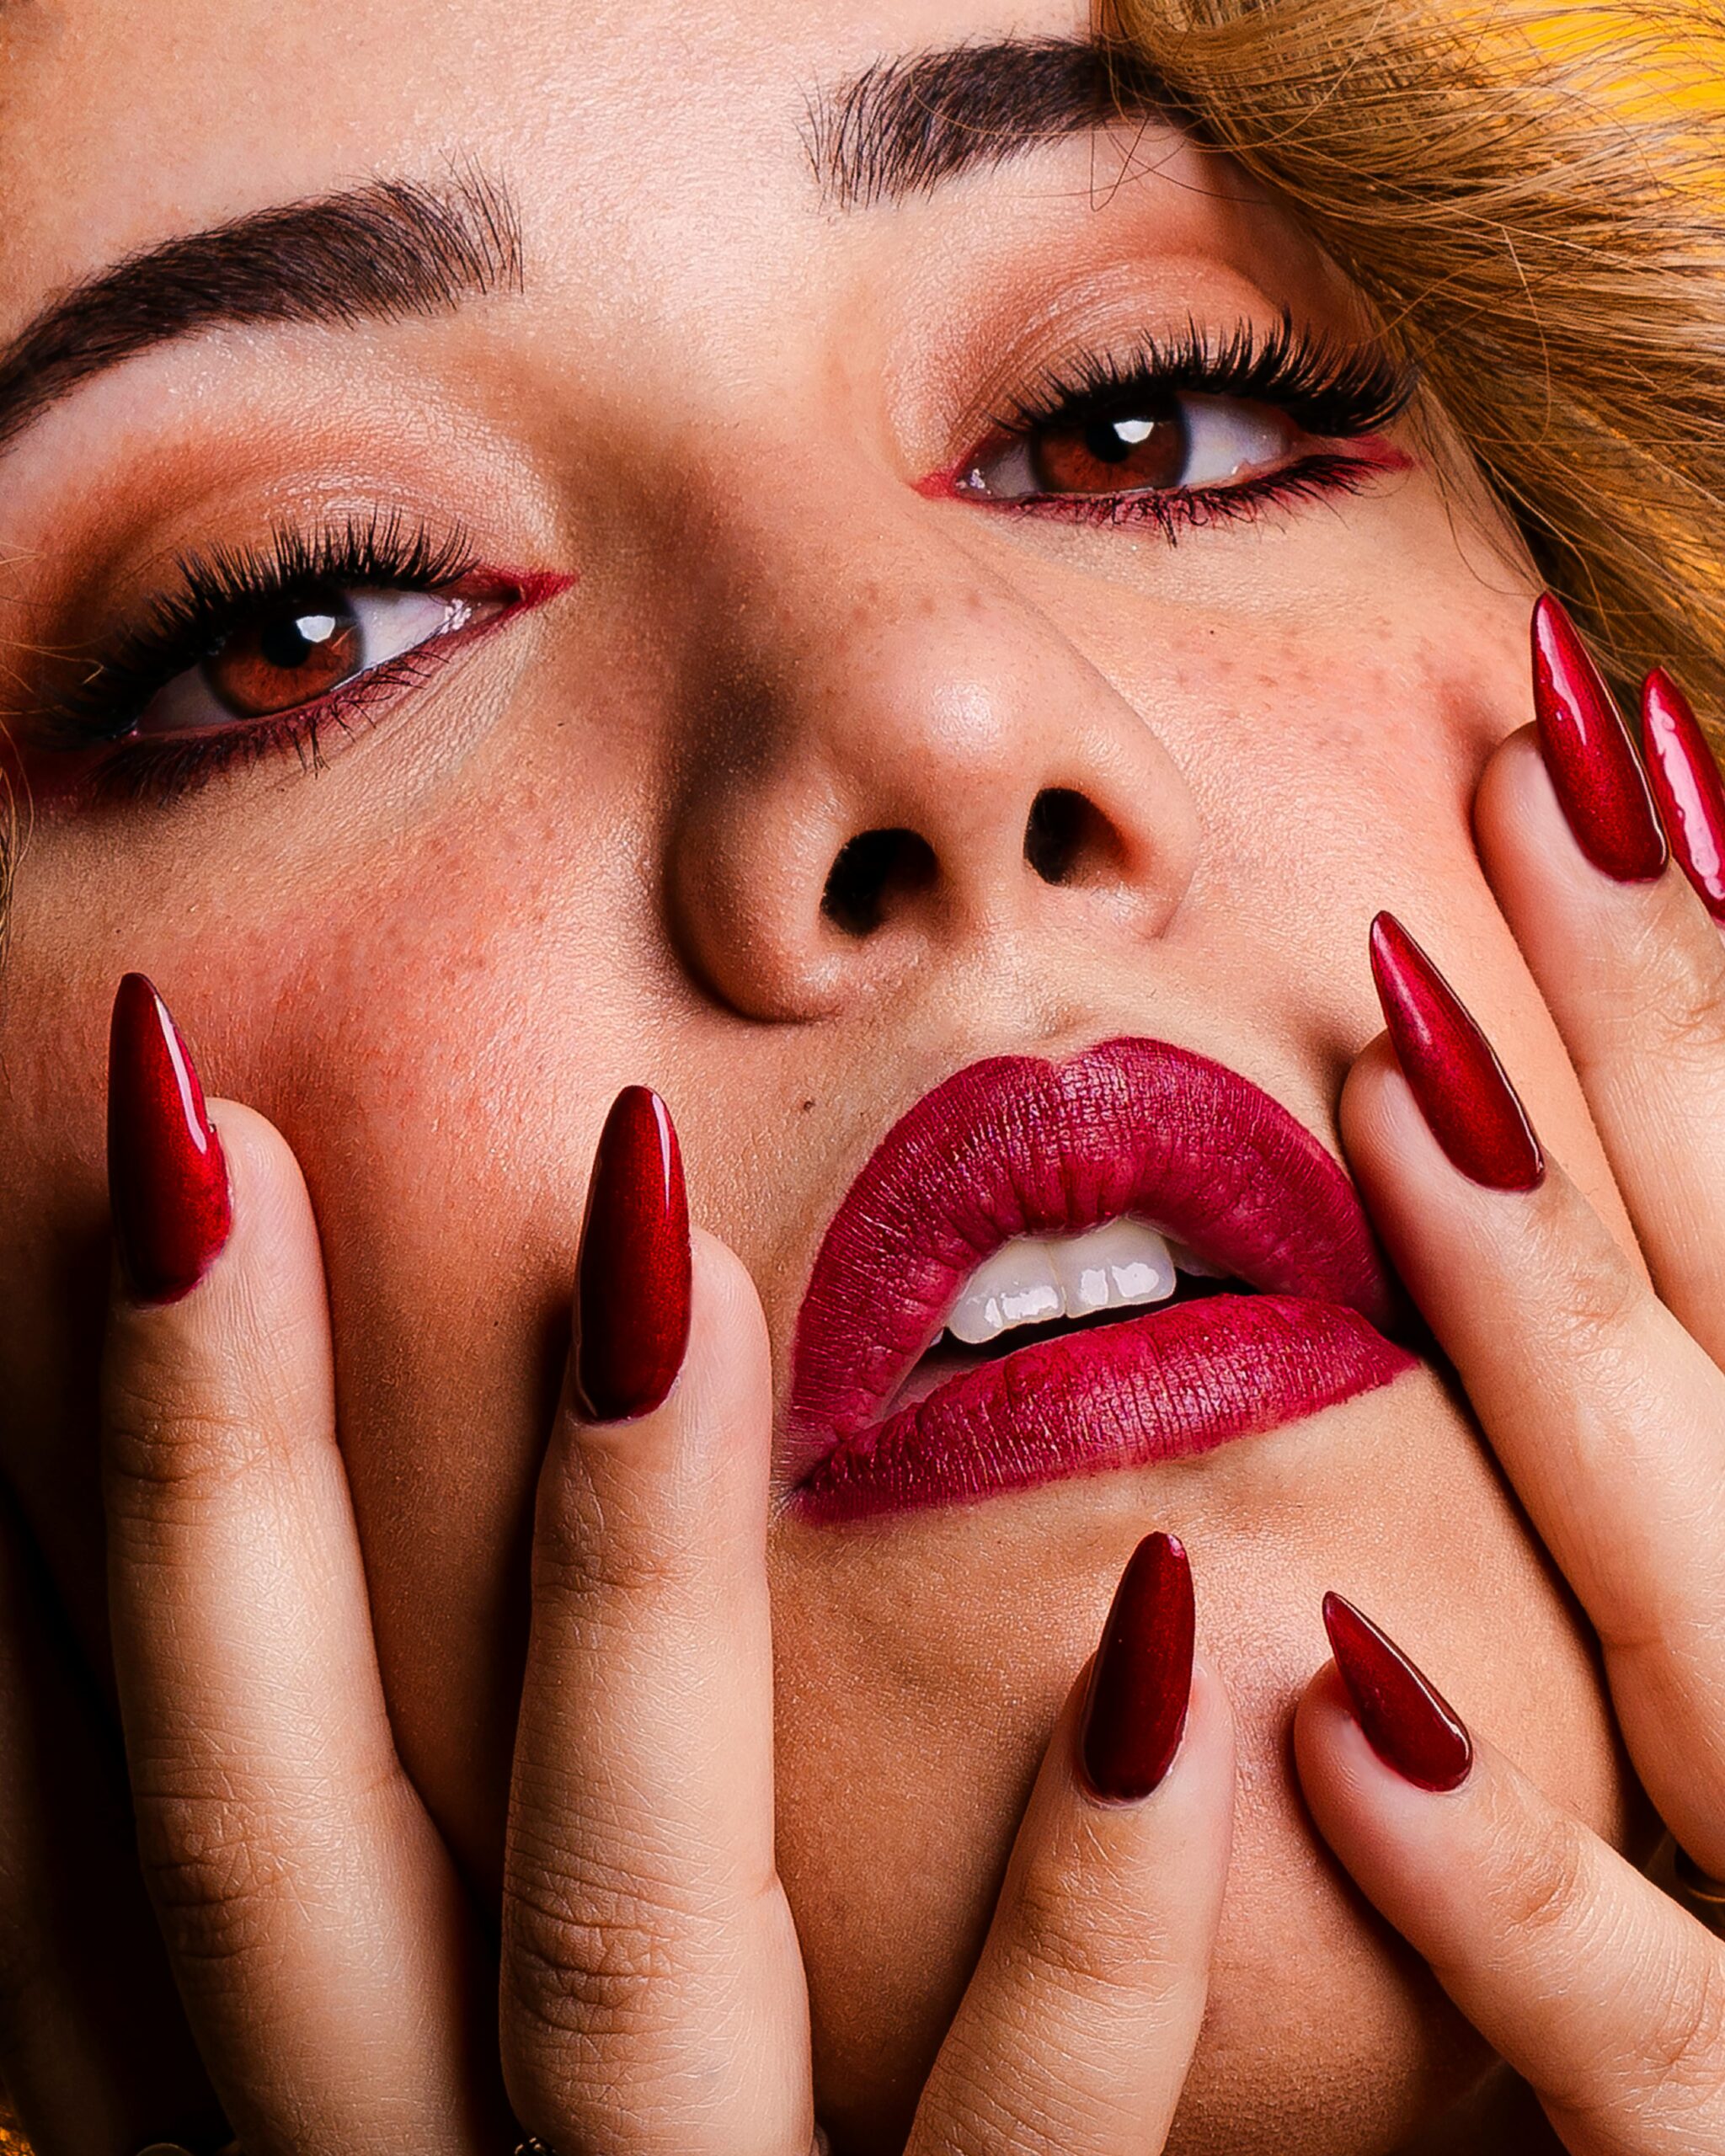
Aesthetics:
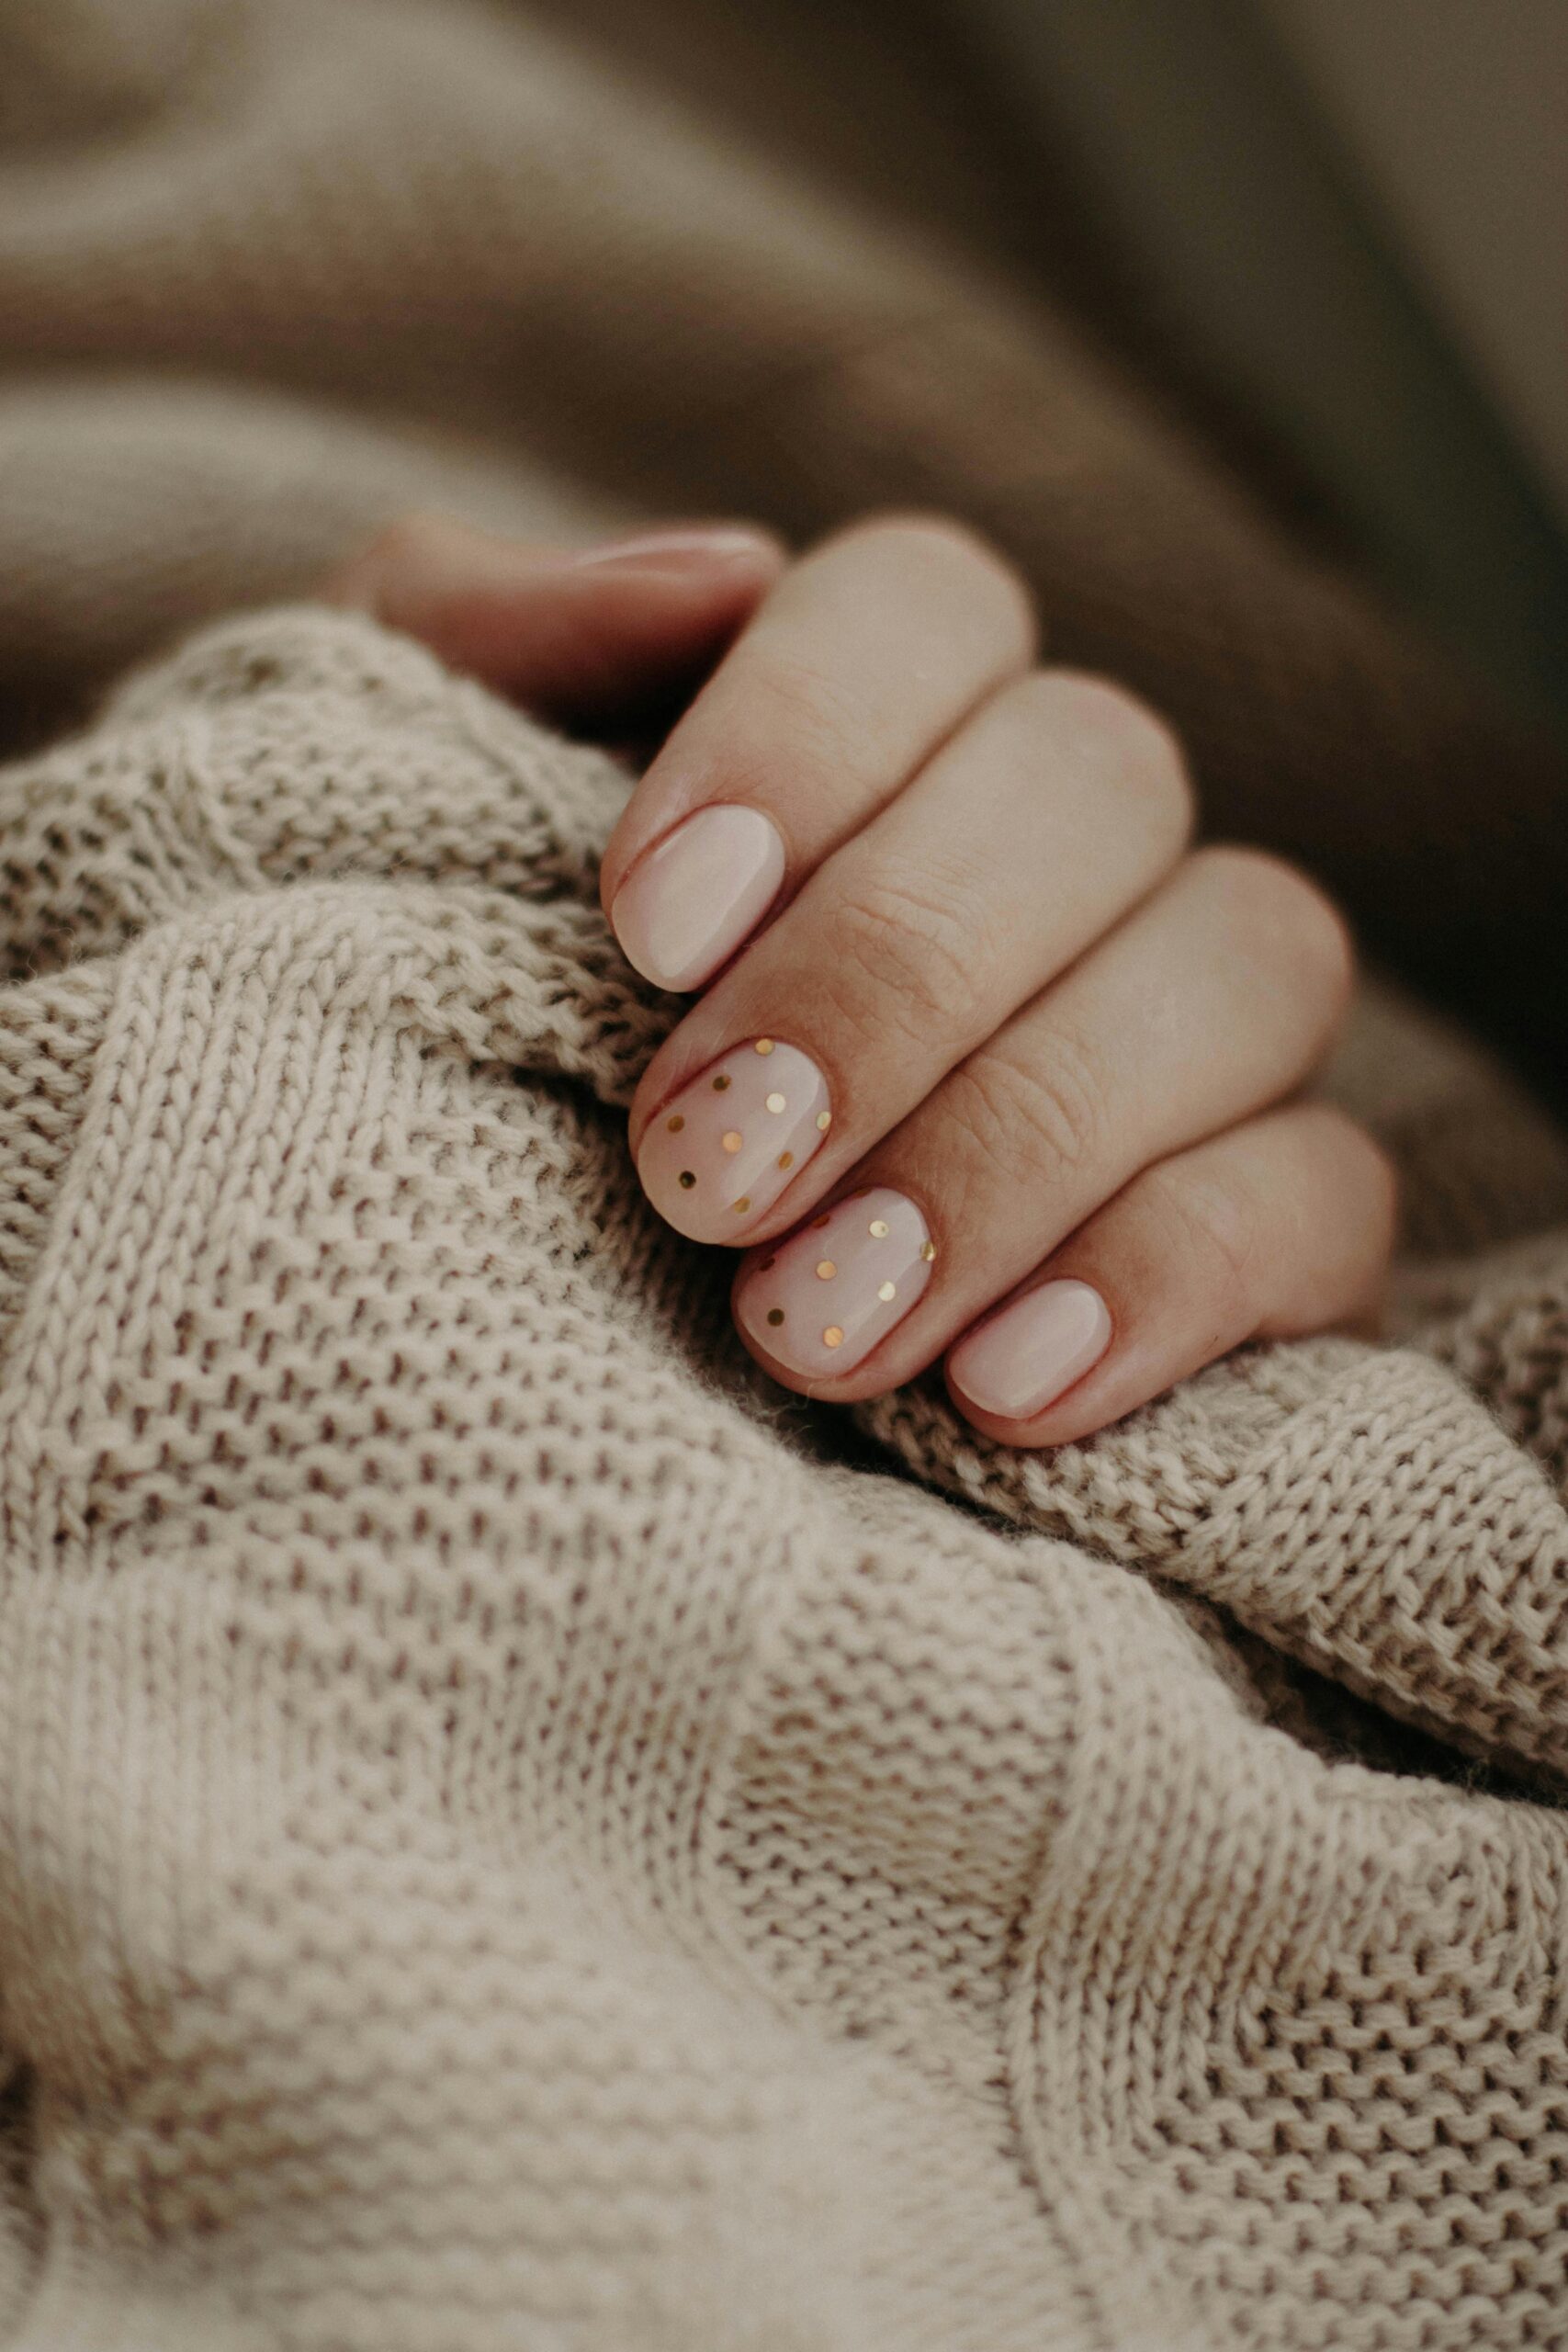
Societal norms regularly equate nicely-kept nails with professionalism and interest in detail. Chipped polish, ragged edges, or overgrown nails can inadvertently signify overlook, affecting perceptions in workplaces or social eventualities. Conversely, manicured nails bring polish and confidence. The upward thrust of nail artwork and grooming developments on social media highlights their cultural importance as a form of self-expression. From minimalist squoval shapes to formidable almond designs, nails offer a canvas for creativity, boosting self-esteem and private identification.
Benefits of Proper Trimming and Shaping
Preventing Ingrown Nails:
Ingrown nails occur when nail edges grow into surrounding skin, inflicting pain, redness, and swelling. This common problem, often affecting toenails, stems from fallacious reducing techniques—inclusive of rounding edges or trimming too short. Proper immediately-across trimming (with slight rounding for feet) and keeping off overly curved shapes mitigate this hazard. For those vulnerable to ingrown nails, normal preservation is critical to save you from continual inflammation or infections requiring scientific intervention.
Reducing Breakage:
Weak, choppy nails are at risk of splitting or peeling, which can expose sensitive nail beds to damage. Using sharp, remarkable clippers and submitting nails in one route (in preference to sawing lower back and forth) preserves structural integrity. Additionally, preserving nails for a moderate period minimizes snagging on fabric or surfaces, reducing unintended breaks.
Enhancing Appearance:
Well-formed nails create symmetry and stability, complementing hand shape and finger period. Popular styles like square, oval, or coffin cater to diverse choices, at the same time as buffing enhances natural shine. Properly prepped nails additionally permit polish to stick better, extending wear time and lowering chipping.
Achieving Salon-Quality Results at Home: An Overview
With the proper gear and strategies, salon-worthy nails are possible without leaving home. Here’s a step-by-step roadmap:
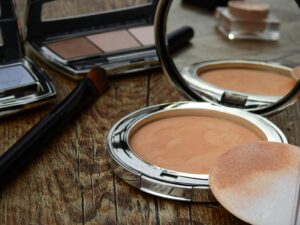
- Gather Tools: Invest in essentials: stainless-steel clippers, a tumbler or emery report, cuticle pusher, nourishing oil, and moisturizer. Sanitize equipment before use to save you infections.
- Prep Nails: Soak palms in warm, soapy water to soften nails and cuticles, making trimming less complicated. Dry very well to avoid slipping.
- Trim Strategically: Cut nails straight throughout, slightly rounding edges for ft. Avoid cutting too short—leave a small white tip to shield the nail mattress.
- Shape with Precision: File in a single path the usage of gentle strokes. Match shapes to nail beds (e.g., oval for huge nails to create a slimming illusion).
- Care for Cuticles: Gently ward off cuticles with a timber stick; avoid slicing them, as this will lead to infections. Apply cuticle oil to nourish and save you dryness.
- Moisturize: Massage hands with a rich cream or oil to hydrate pores, skin, and nails, selling flexibility and reducing brittleness.
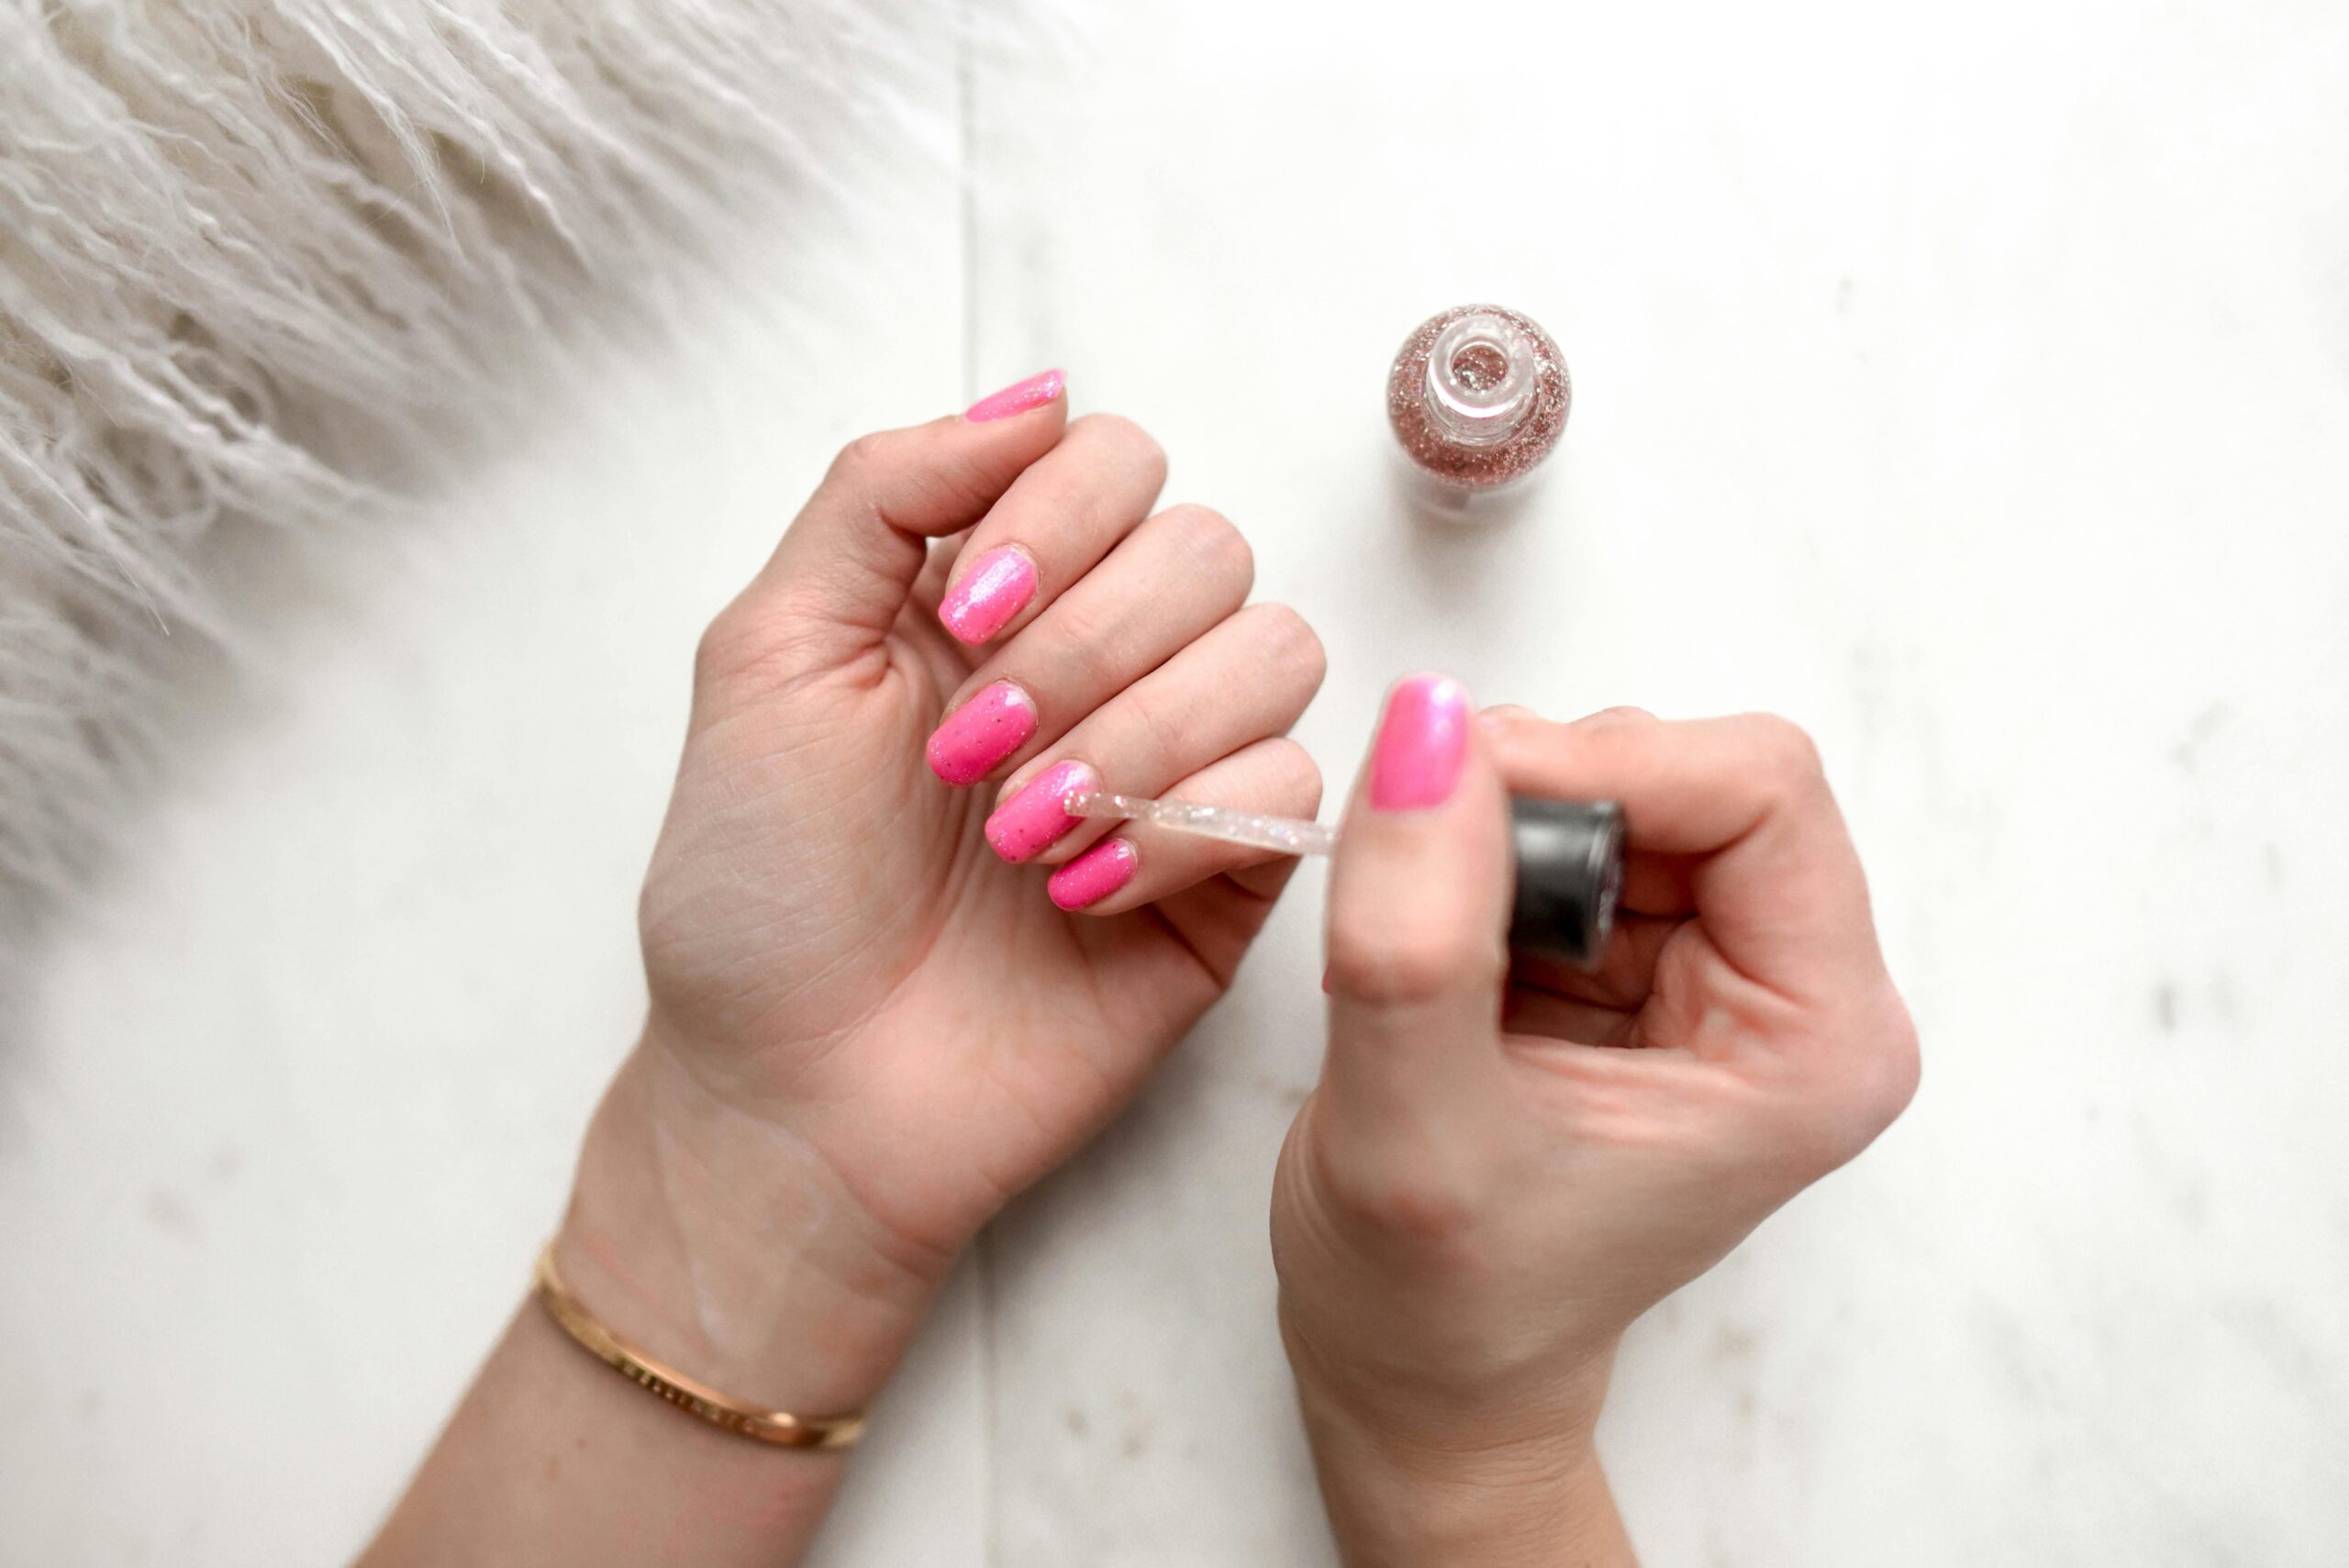
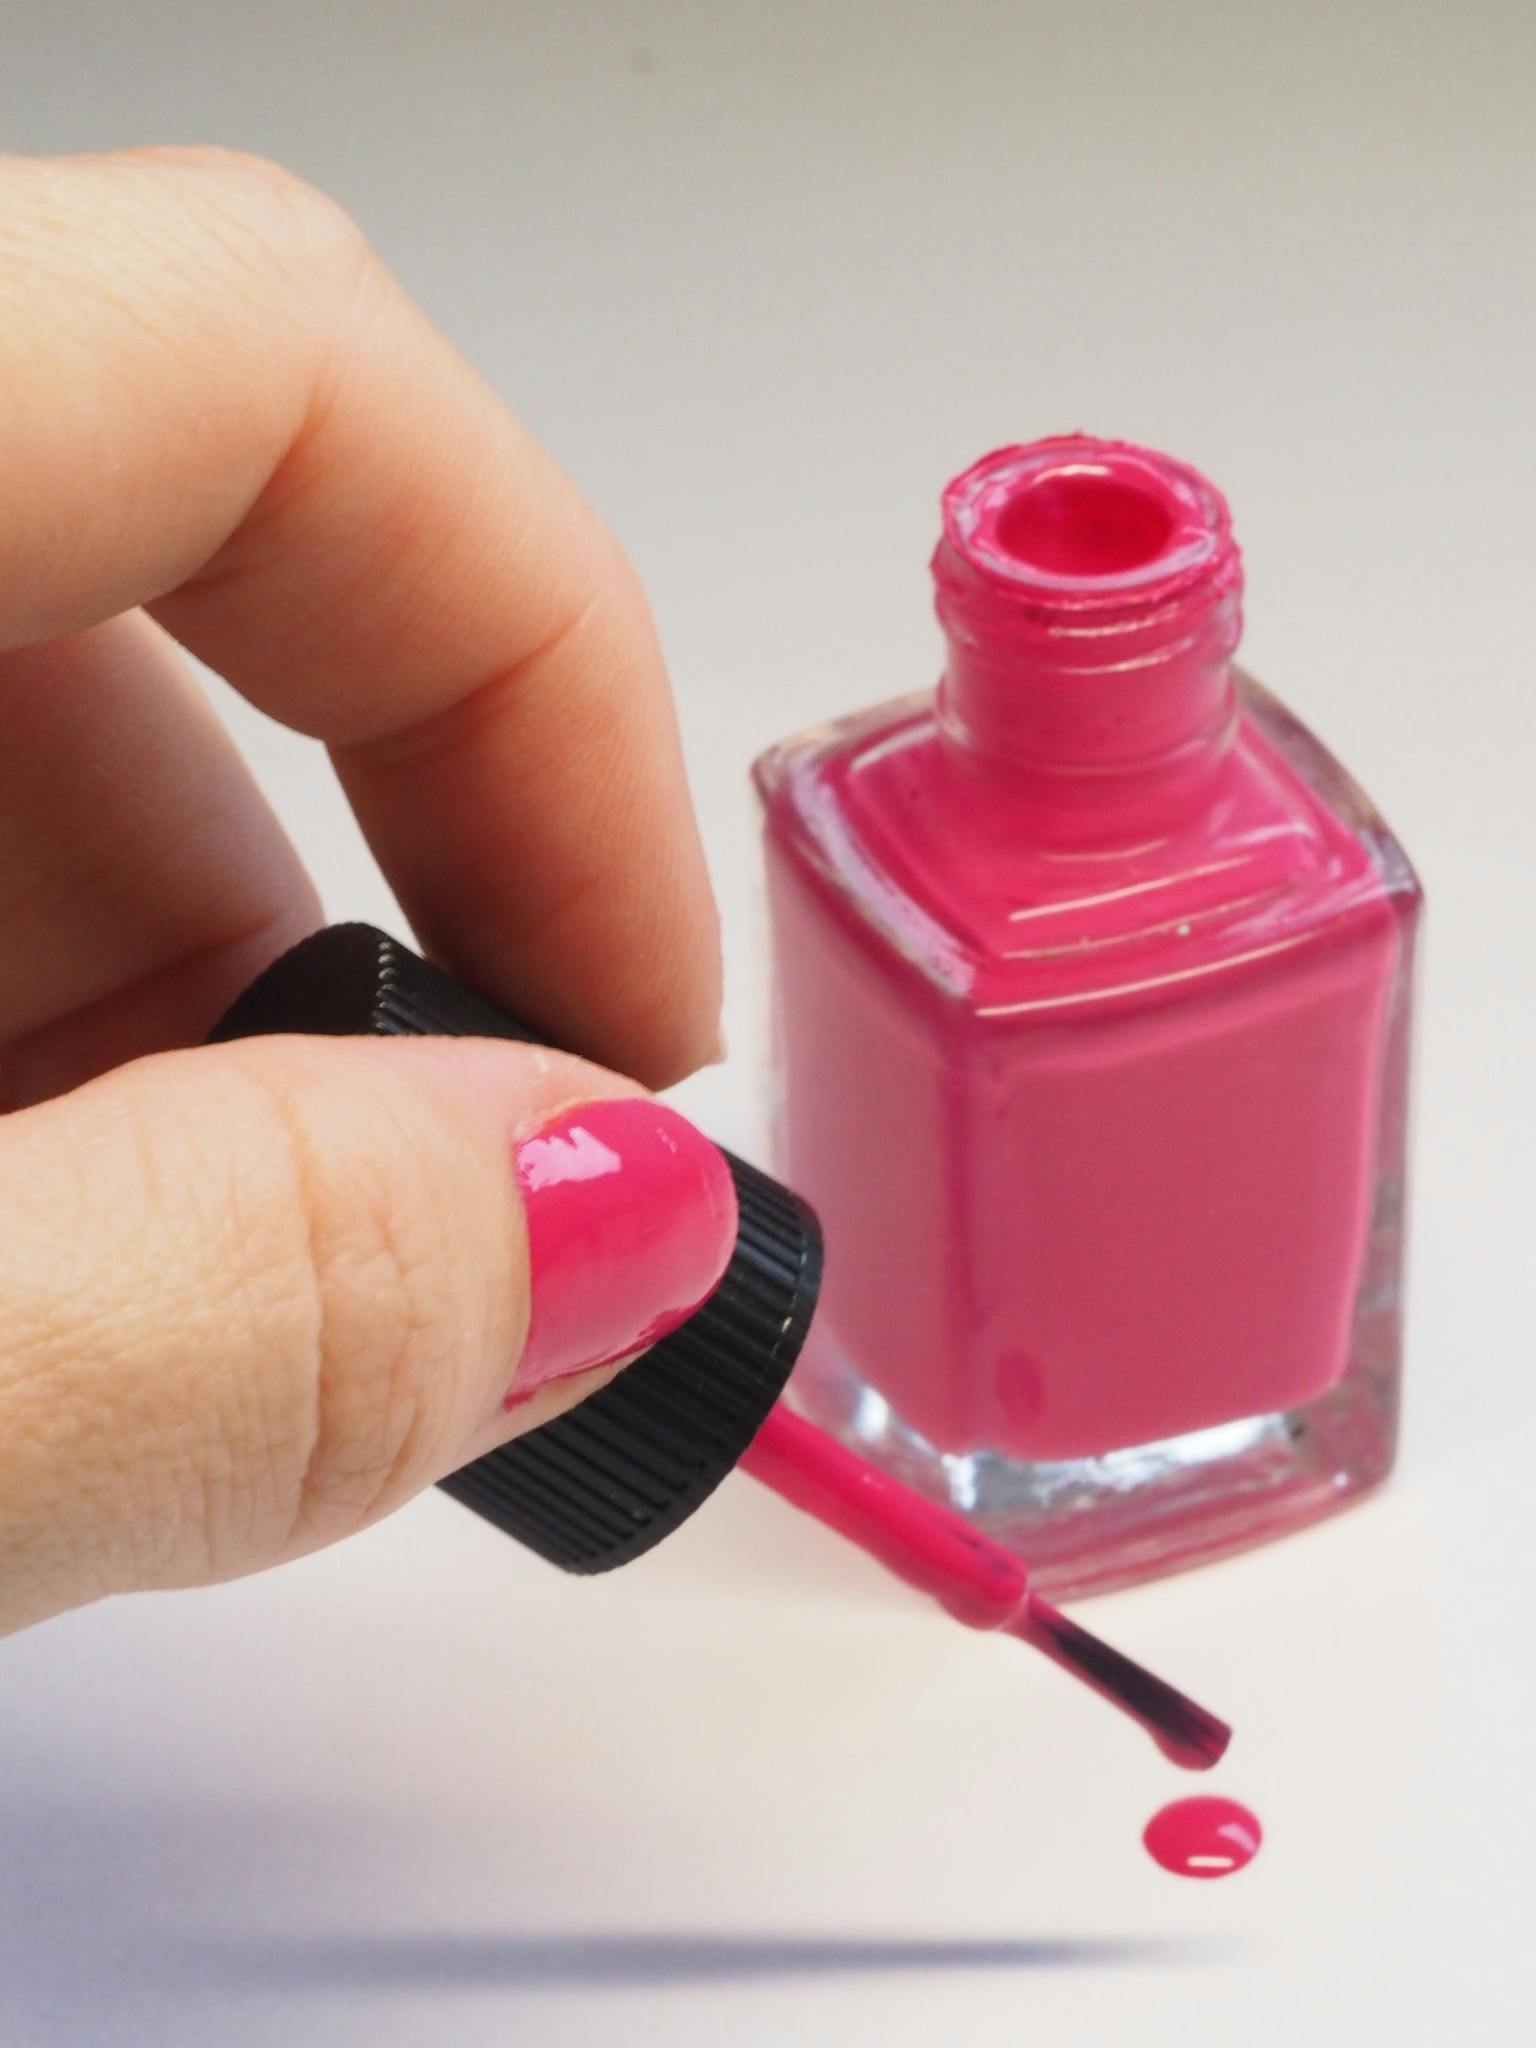
- Final Touches: Buff nails for shine or follow polish in skinny, even layers. Seal edges to save you premature chipping.
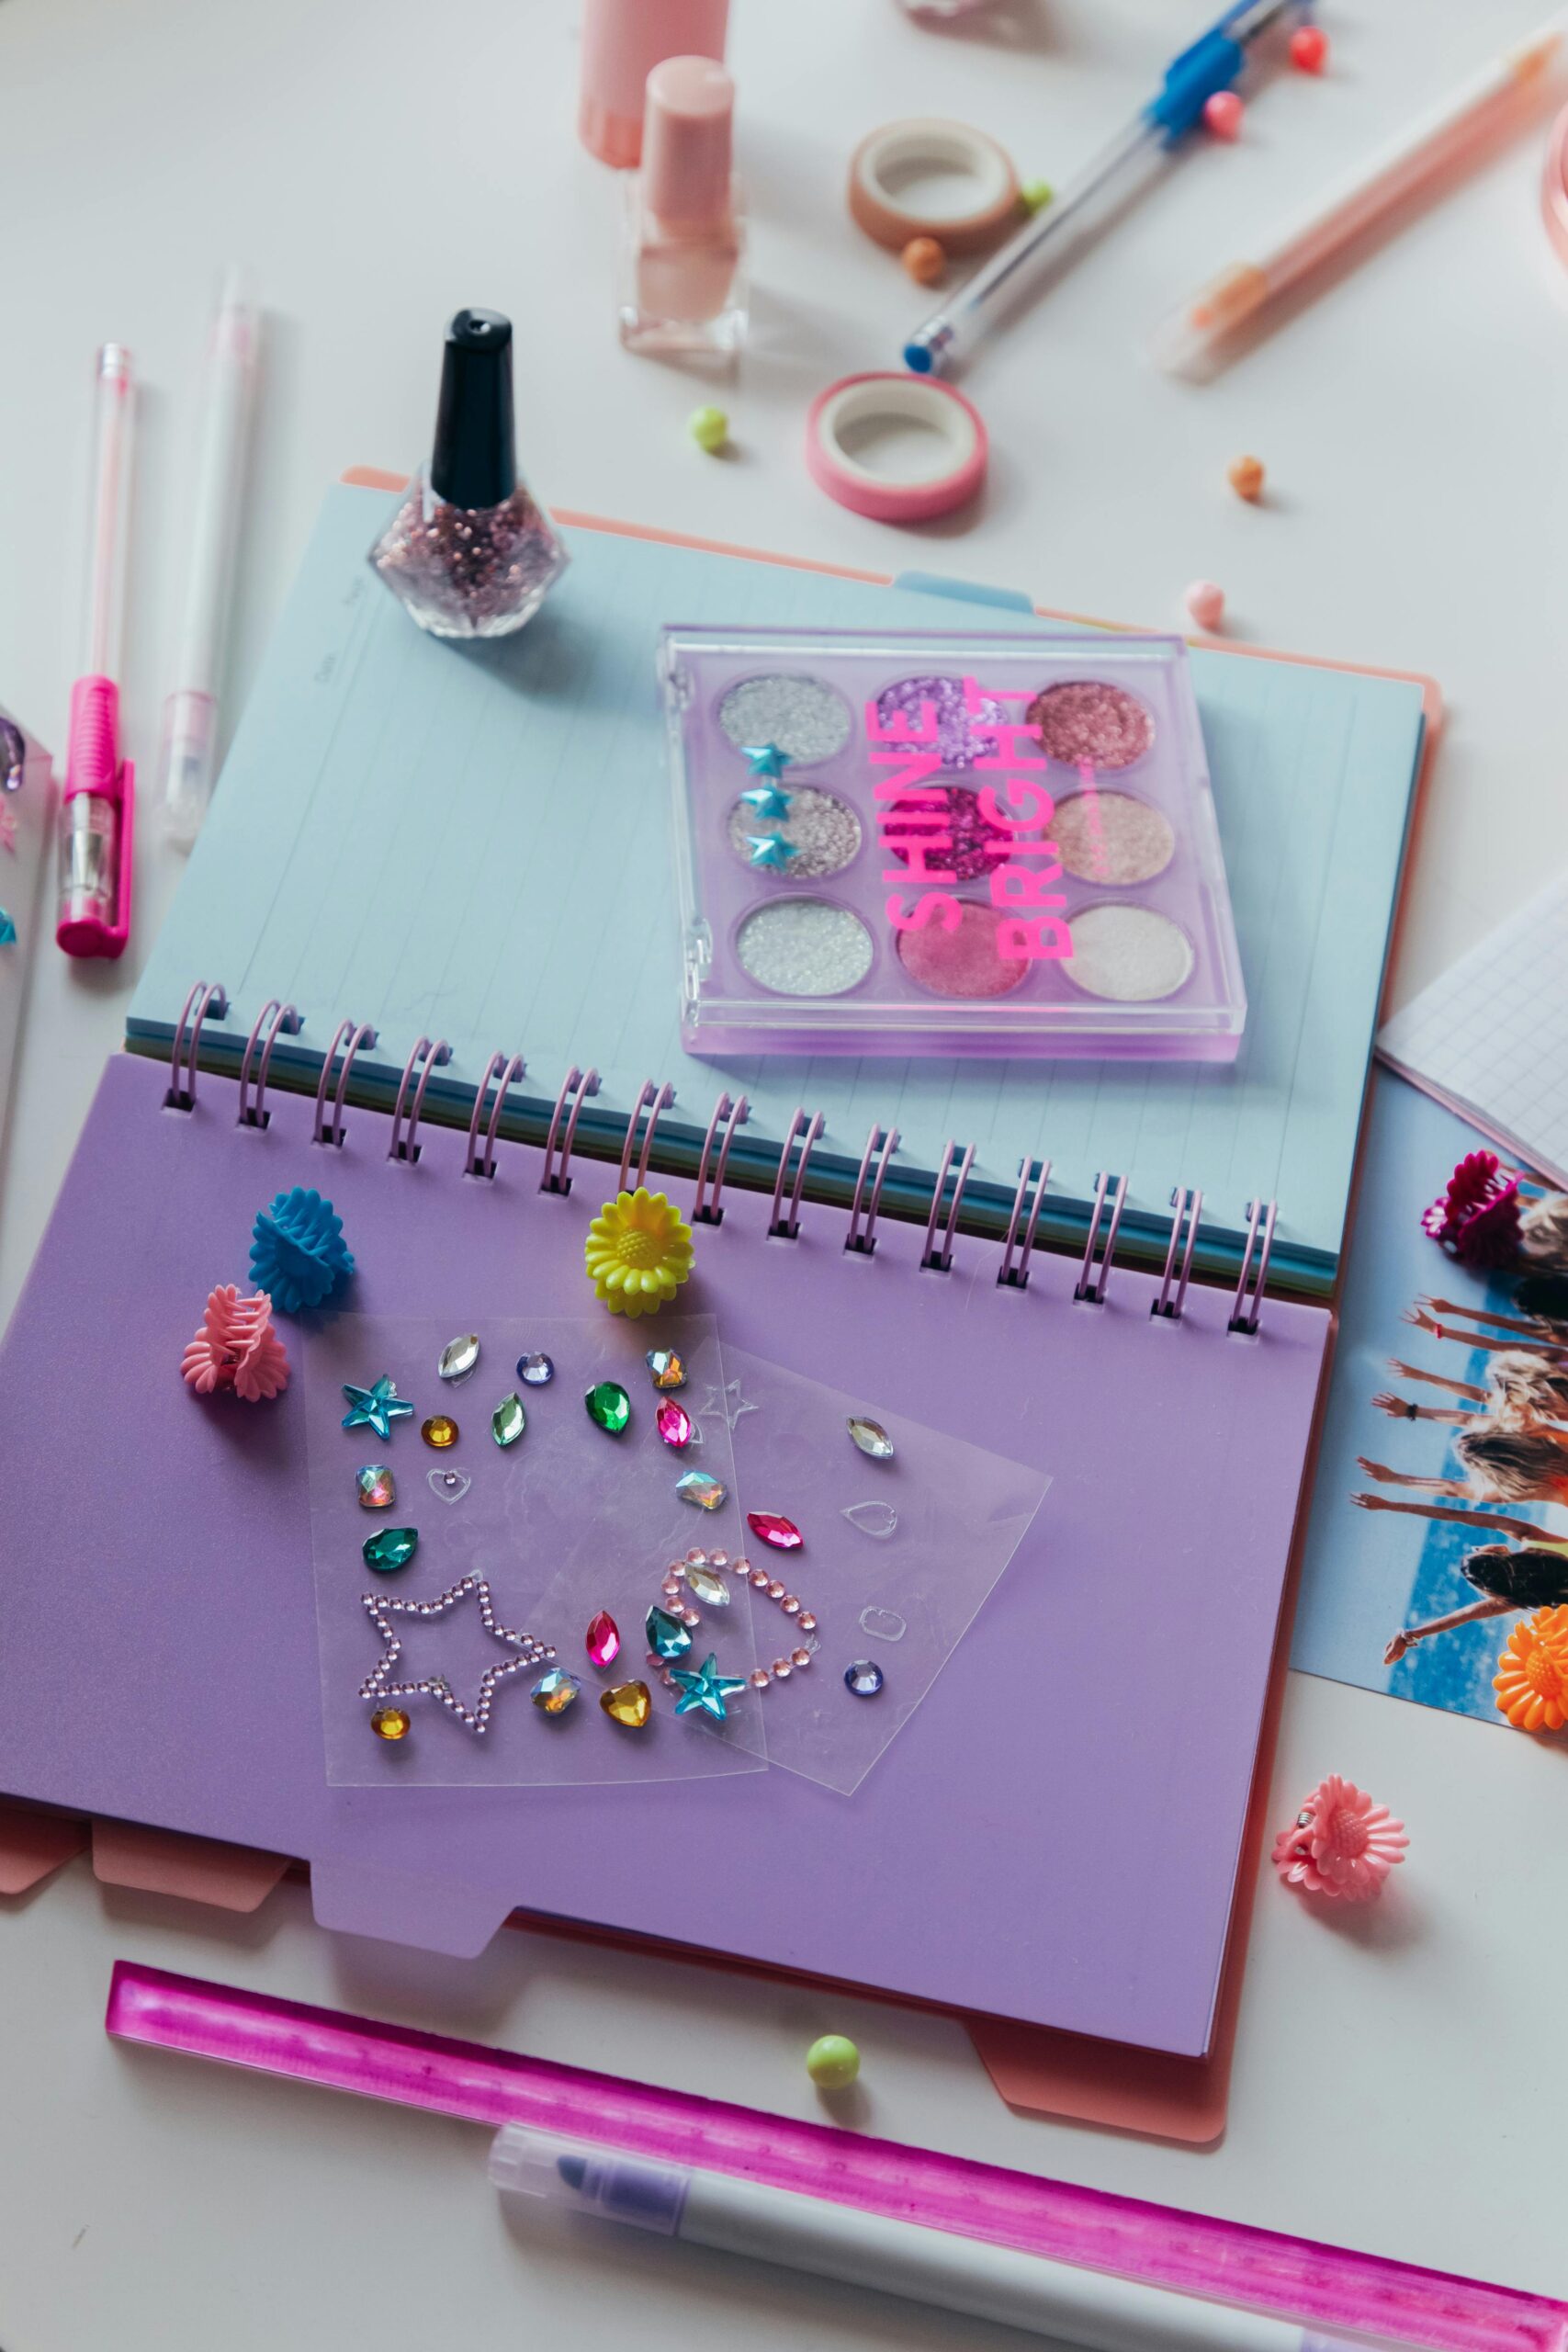
Tools You’ll Need
Achieving salon-high-quality nails at home begins with assembling the proper equipment. Each object serves a selected reason, making sure your nail care habitual is hygienic, green, and effective. Below is a detailed breakdown of crucial gear, their variations, and the way to use them for most fulfilling effects.
1. Nail Clippers or Scissors
The foundation of nail care: clippers or scissors trim nails on your preferred duration. Straight-side clippers are ideal for toenails and thick nails, as their flat blades offer precision and save you choppy edges. Curved clippers, with rounded blades, follow the herbal arc of fingernails, lowering the danger of sharp corners. For people with strong or brittle nails, chrome steel clippers offer durability and smooth cuts.
2. Nail File/Emery Board
Filing smooths rough edges and refines nail form. Grit degrees determine the record’s abrasion:
- Coarse grit (80-100): Best for shortening thick or synthetic nails.
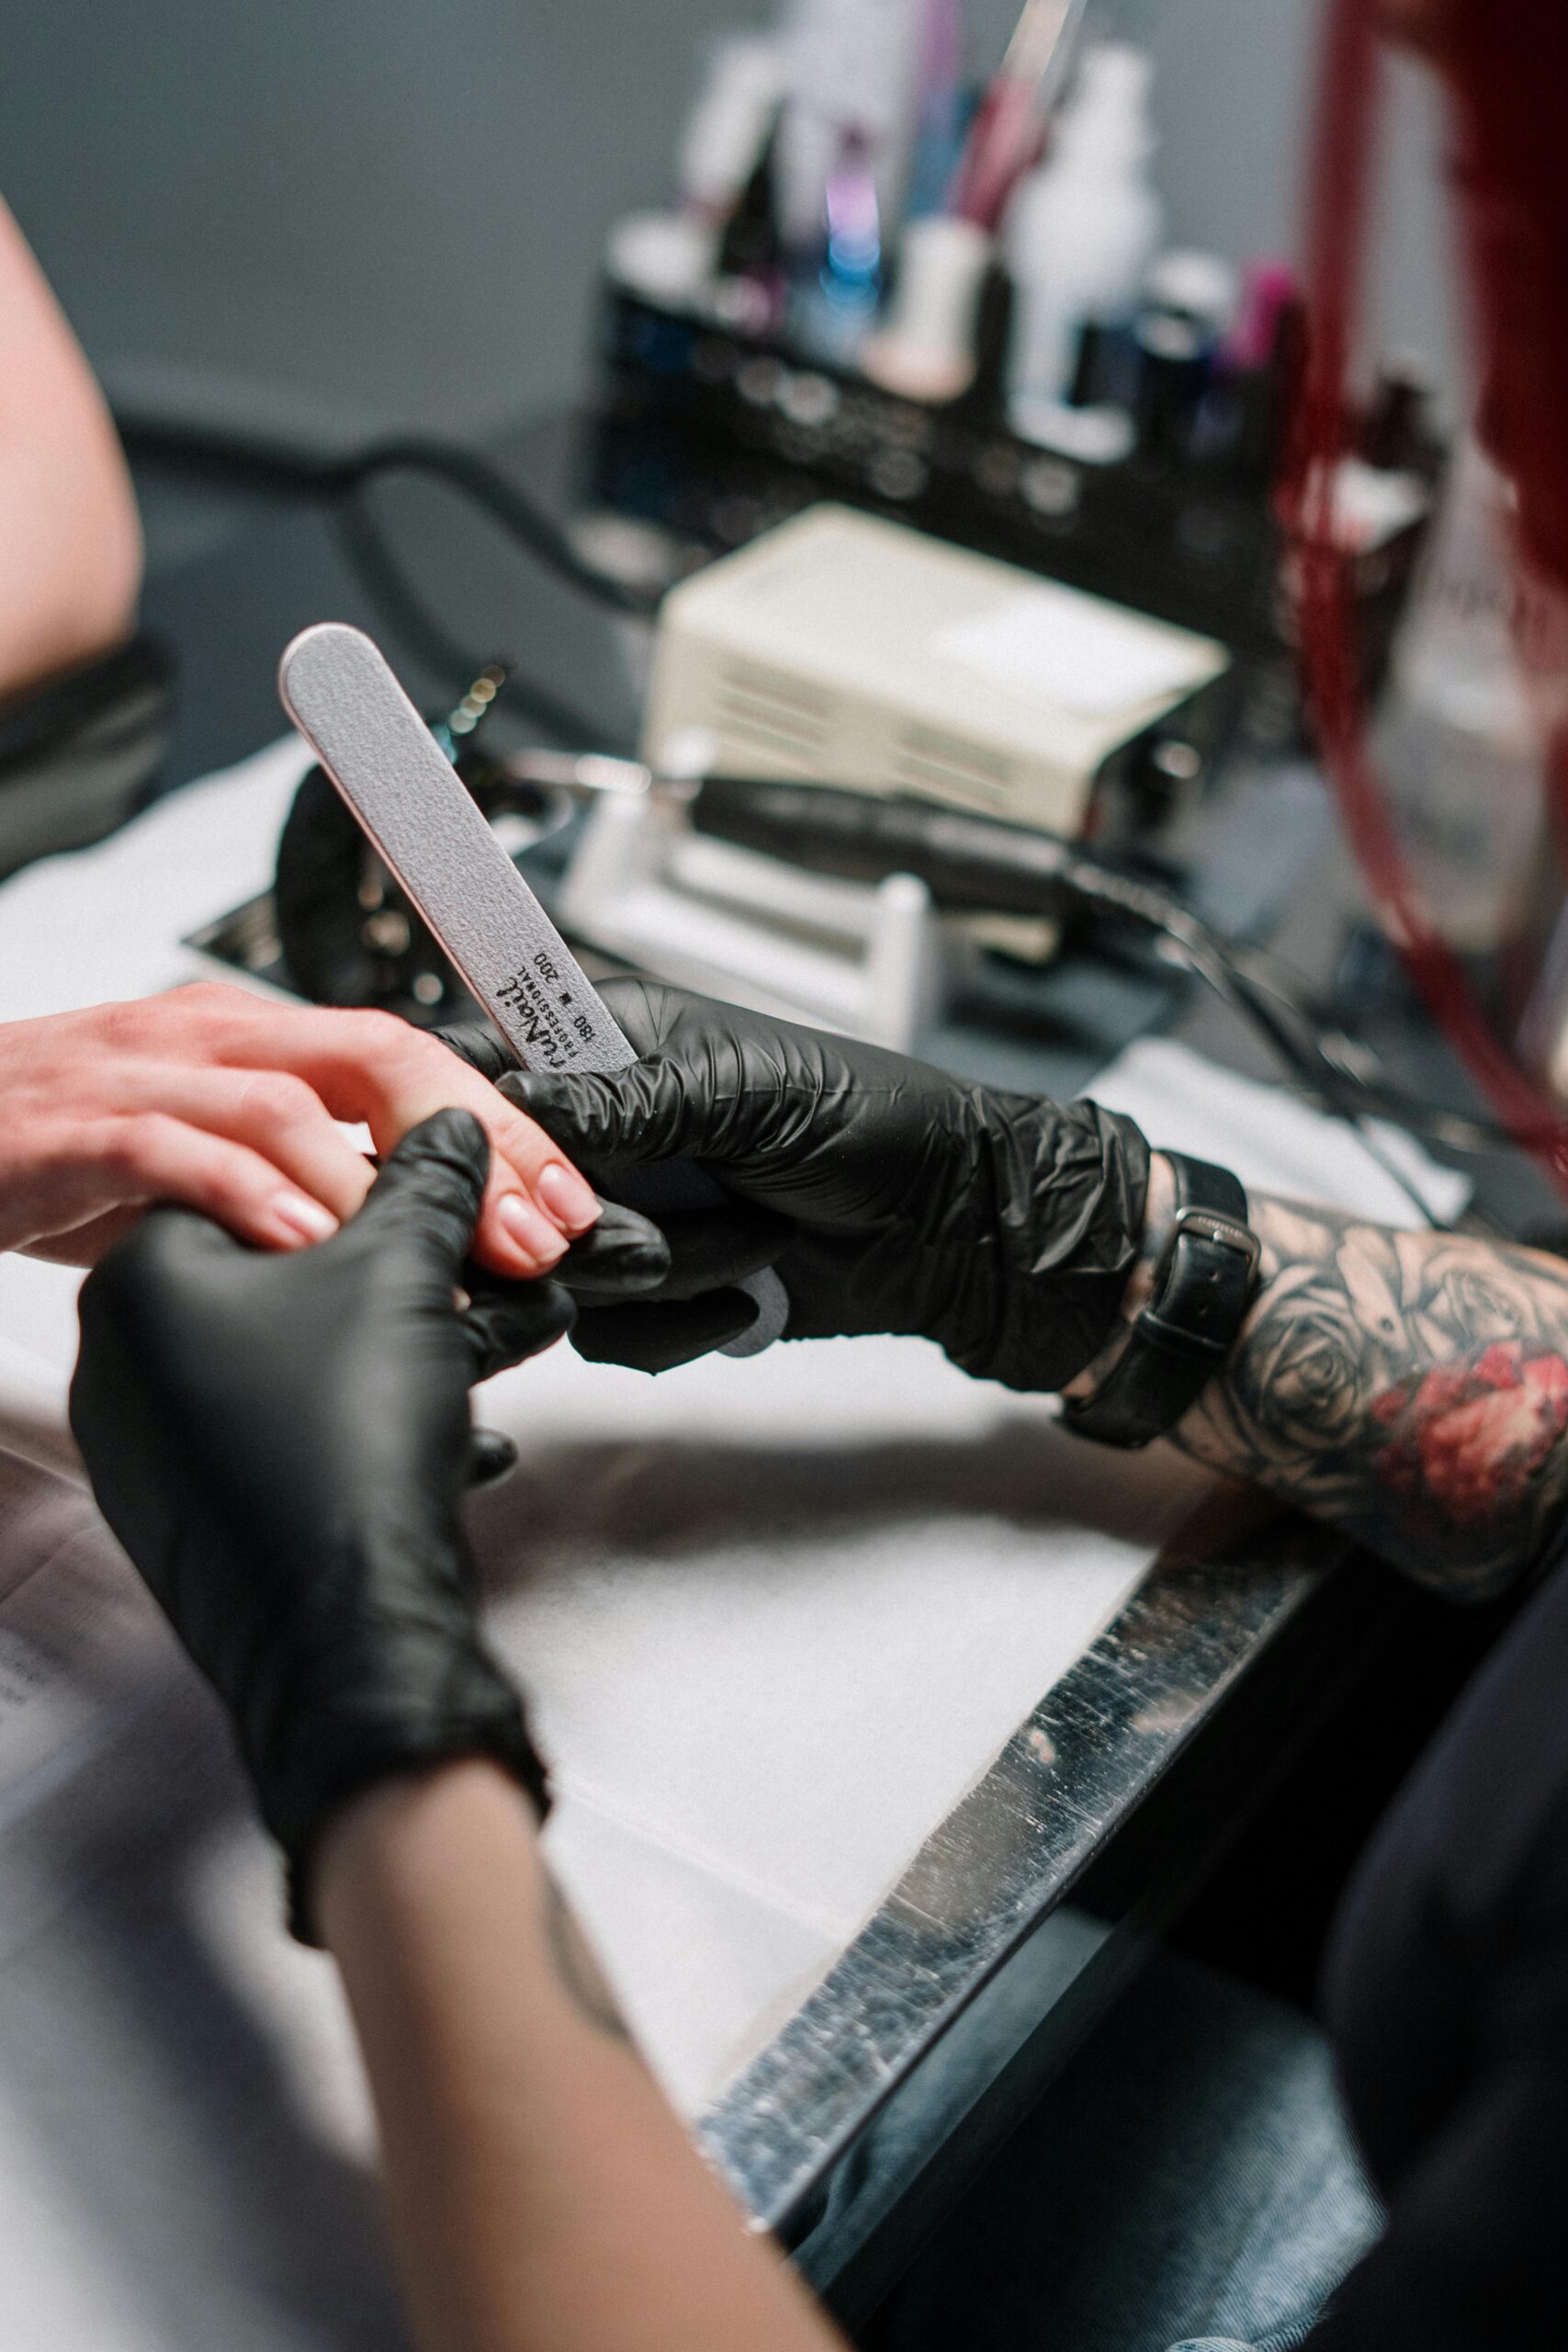
- Medium grit (180-220): Versatile for herbal nails, shaping without overfiling.
- Fine grit (240) ): polishes edges and buffs minor imperfections.
Emery boards (disposable cardboard files) are gentle on natural nails, while glass or crystal files provide durability and a smoother end. Metal files match acrylics, however, which may be too harsh for delicate nails. Always record in one course—sawing returned-and-forth weakens nails, inflicting splits.
3. Cuticle Pusher or Orangewood Stick
Cuticles shield the nail matrix from bacteria, so gentle care is essential. A metal cuticle pusher (with a rounded tip) tames overgrown cuticles without tearing. For a softer method, orangewood sticks (disposable wood tools) exfoliate dead skin and beat back cuticles adequately. Avoid slicing cuticles unless important—over-trimming invitations infections.
4. Nail Buffer
A multi-sided buffer enhances shine and smoothness. Most buffers function:
- Coarse aspect: removes ridges or uneven texture.
- Medium facet: refines the floor.
- Fine facet: Adds sleek polish.
Use light pressure to keep away from thinning nails. Over-buffing strips the nail’s herbal layers, weakening them through the years.
5. Sanitizing Supplies
Hygiene is non-negotiable. Before and after every use, disinfect gear with 70% rubbing alcohol or a disinfectant spray to kill microorganisms and fungi. Soak metal tools in alcohol for 10 minutes, then wipe dry. Store clean equipment in a sealed case to save you infection.
6. Moisturizer/Cuticle Oil
Hydration prevents brittleness and promotes healthy growth. Cuticle oil (regularly containing jojoba, almond, or diet E) nourishes the nail bed and softens cuticles. Apply day by day with a brush or dropper. For standard hydration, use a wealthy hand cream put up-trimming, focusing on dry regions around nails. Look for elements like shea butter or glycerin to lock in moisture.
Pro Tips for Tool Maintenance
- Replace documents and buffers every 3-6 months, as worn grit loses effectiveness.
- Sharpen clippers regularly with a metallic document to keep clean cuts.
- Avoid sharing tools to prevent cross-infection.
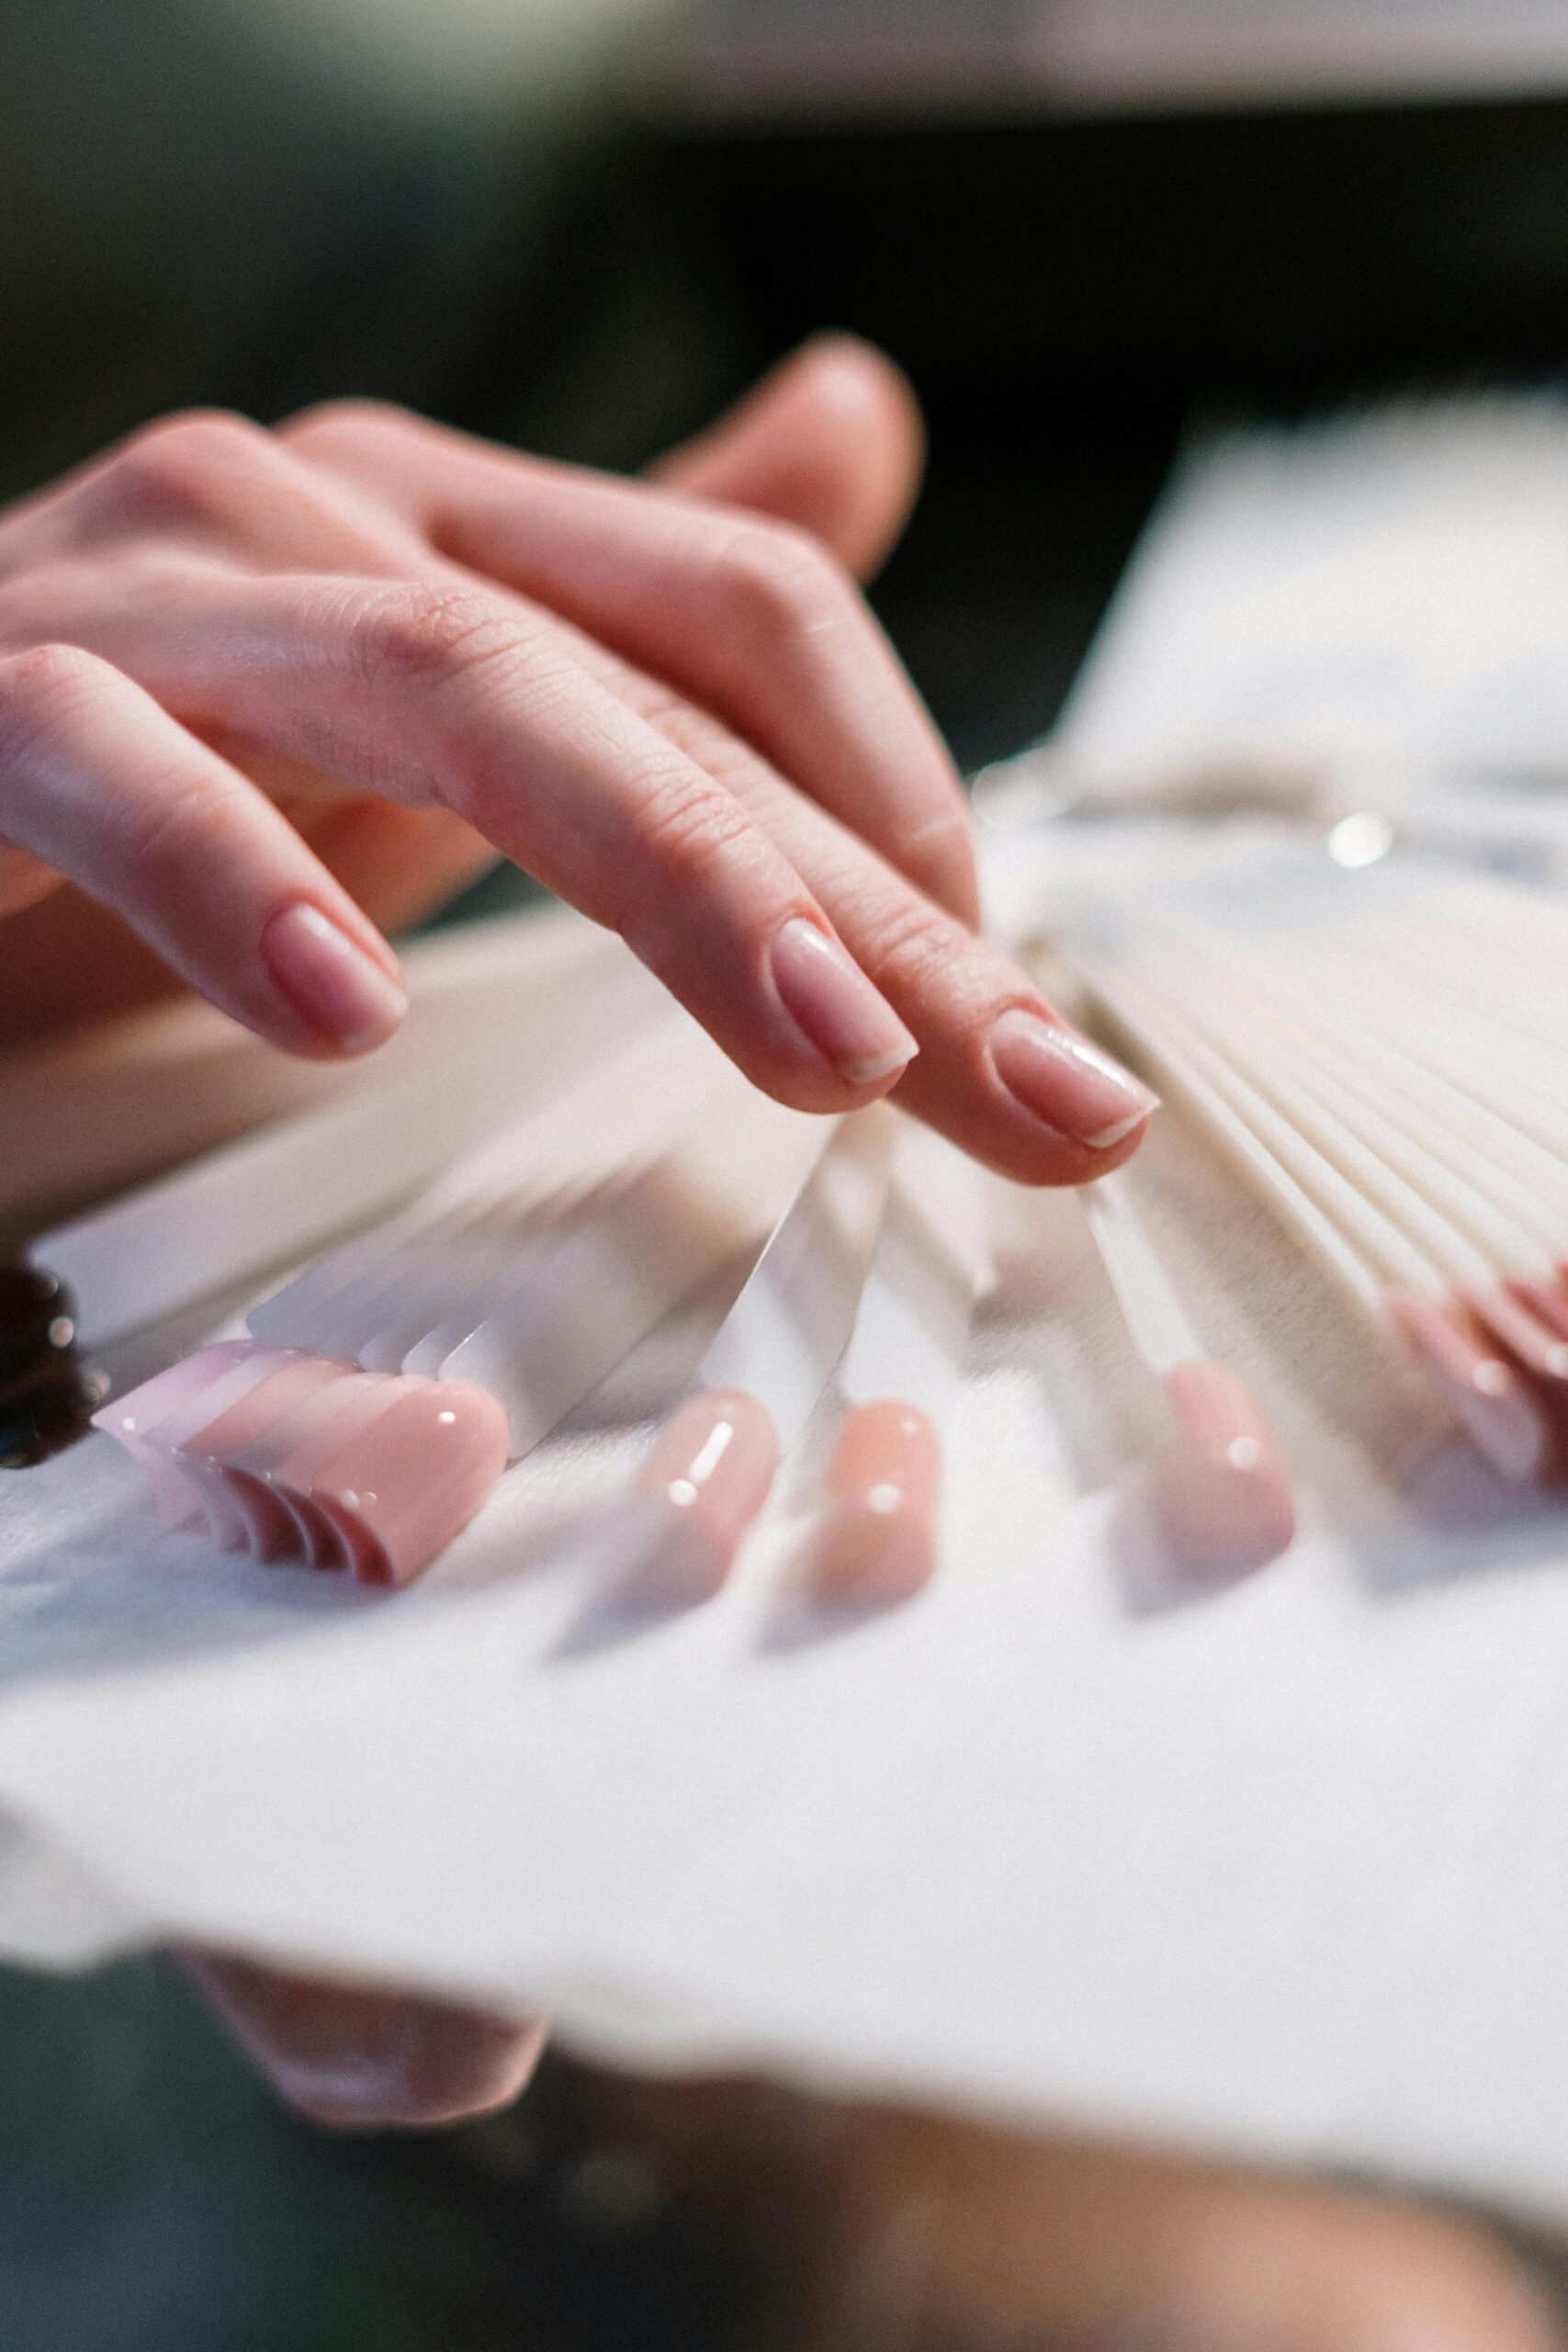
Preparing Your Nails
Proper nail training is the cornerstone of a successful manicure or pedicure, making sure hygiene, ease of trimming, and lengthy-lasting outcomes. Follow the steps to create a clean, smooth canvas for grooming:
1. Clean Your Nails
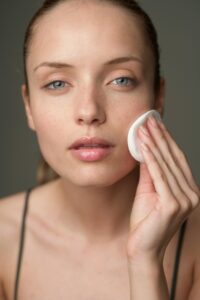
Begin through very well washing your palms or toes with slight soap and lukewarm water. This gets rid of floor dust, oils, and bacteria, reducing the hazard of infections. Focus on scrubbing below the nails with a mild-bristled nail brush, as this place harbors debris and germs. Rinse well and pat dry with a clean towel, listening to crevices among fingers and toes. Dry nails are less complicated to trim and less likely to be cut up, as moisture can soften nails and make them vulnerable to tearing. Avoid harsh antibacterial soaps, which can also dry out pores, skin, and cuticles.
2. Soak Your Nails (Optional)
For extra-tender nails and cuticles—especially if nails are thick, brittle, or have cussed dust—soak them in a bowl of warm, soapy water for 2–three minutes. Add a drop of mild liquid cleansing soap or a teaspoon of olive oil for delivered hydration. This step eases trimming, minimizes jagged edges, and loosens cuticles for mild elimination. However, restriction soaking to keep away from overhydrating nails, that may weaken their shape over the years. Those with without a doubt gentle nails or vulnerable to peeling may additionally pass soaking to save you excess flexibility.
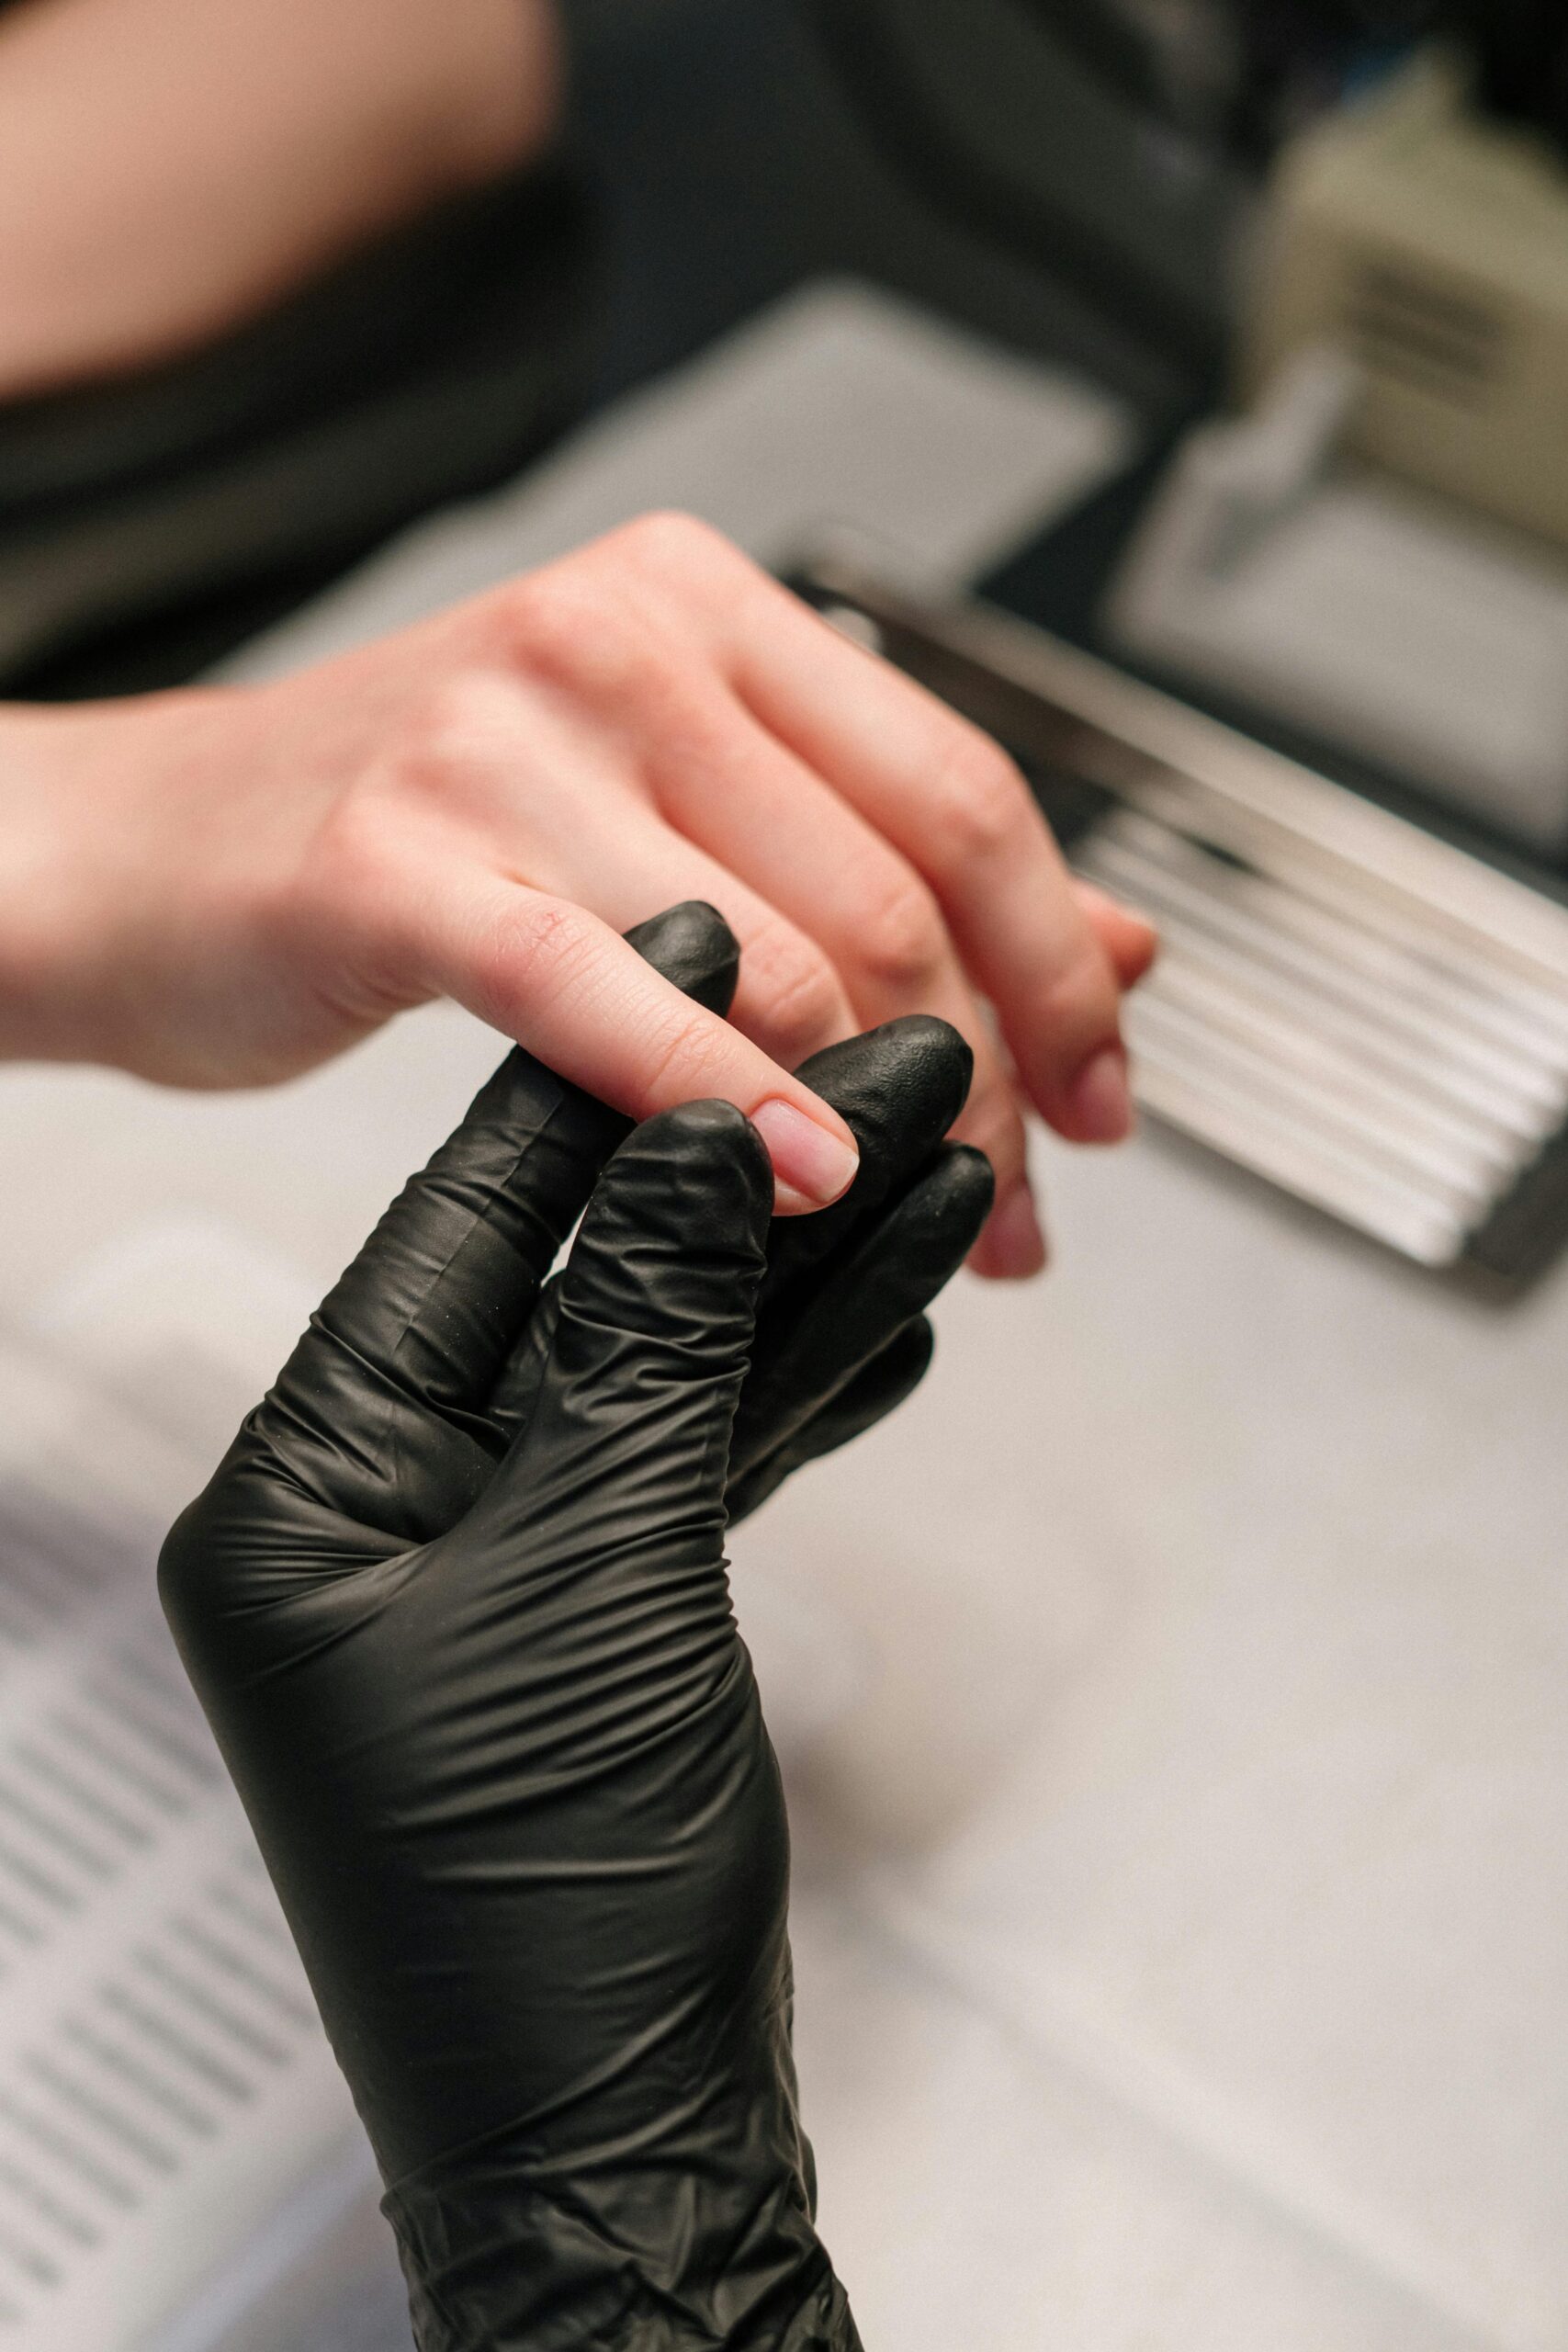
3. Push back cuticles
After drying, gently gently use a cuticle pusher or orange stick for the cut. Start with the nail base, apply light pressure in a small circular motion to oo -oily to the dead skin. Avoid cuticle cuts unless they are not grown overly, as they act as a protective barrier against bacteria. For stubborn cuticles, apply a drop of cute oil and wait 1-2 minutes to soften them. Never push the cuticle back – aggressive management can cause tears or inflammation. Finish and finish the residue with a damp cloth.
Why preparation matters
There is a risk of unevenly trimmed, sliced edges or accidental cuts to ignore these steps. Clean, dry nails allow the equipment to easily glide, while soft cuticles reduce the need for aggressive trimming. By prioritizing preparation, you protect nail health, increase the life expectancy of your manicure, and maintain the integrity of your nails and surrounding skin. Here a little patience at home determines the stage for professional, salon-eligible results.
Step-by-Step Trimming Process
Proper nail is the key to maintaining nail health, preventing injuries and achieving a polished appearance. Follow these steps to trim nails safely and effectively
1. Trim when you are dry
Always trim nails when completely dry. Wet nails absorb moisture, become softer and more prone to tear or split. Dry nails retain their natural strength and allow cleaner cuts with minimal freezing. If you have soaked nails earlier, pat them dry thoroughly before trimming.
2. Cut just over For nails:
- For Fingernails: Use curved mowers or scissors to cut nails right over, avoid rounded edges. A little around the corners with a file after trimming to prevent sharp edges. Overcoming increases the risk of ingrown nails, as corners can dig into the skin as they grow.
- For toenails: Always cut right over to maintain the natural shape of the nail and reduce the pressure on the sides. Toenails are thicker and slower growing; Curved cuts can cause painful ingrown nails or infections such as Paronychia.
3. Leave a small white edge
Avoid cutting nails too short. Let a 1-2 mm white tip LA 1-2 mm to protect the sensitive nail bed below. Over-trimming exposes tender skin, which increases receptivity to pain, bacteria or fungi input. If nails are naturally short, archive them instead of cutting.
4. Trim in Small Sections
Work gradually by trimming small sections of the nail at a time. For longer nails, make several conservative cuts instead of an aggressive clip. This approach minimizes errors, such as cutting unevenly or very deeply. Adjust with a file to refine the soft shape and edges.
Pro Tips
- Use clear tools:Brazil’s nails of Brazil, causing divisions.
- File After cutting:the edges of the pan with a thin grain file, moving in one direction to avoid weakening the nails.
- Check the symmetry: Compare nails to ensure uniform lengths.
Why technique Matters
Proper cut avoids common problems such as ingrown nails, hangnails and infections. The straight cuts distribute the pressure evenly while leaving a white edge protects the nail bed. By carefully and methodically trimming, you ensure that nails remain strong, comfortable and aesthetically pleasant. With practice, this process becomes fast and intuitive, providing hall worthy results.
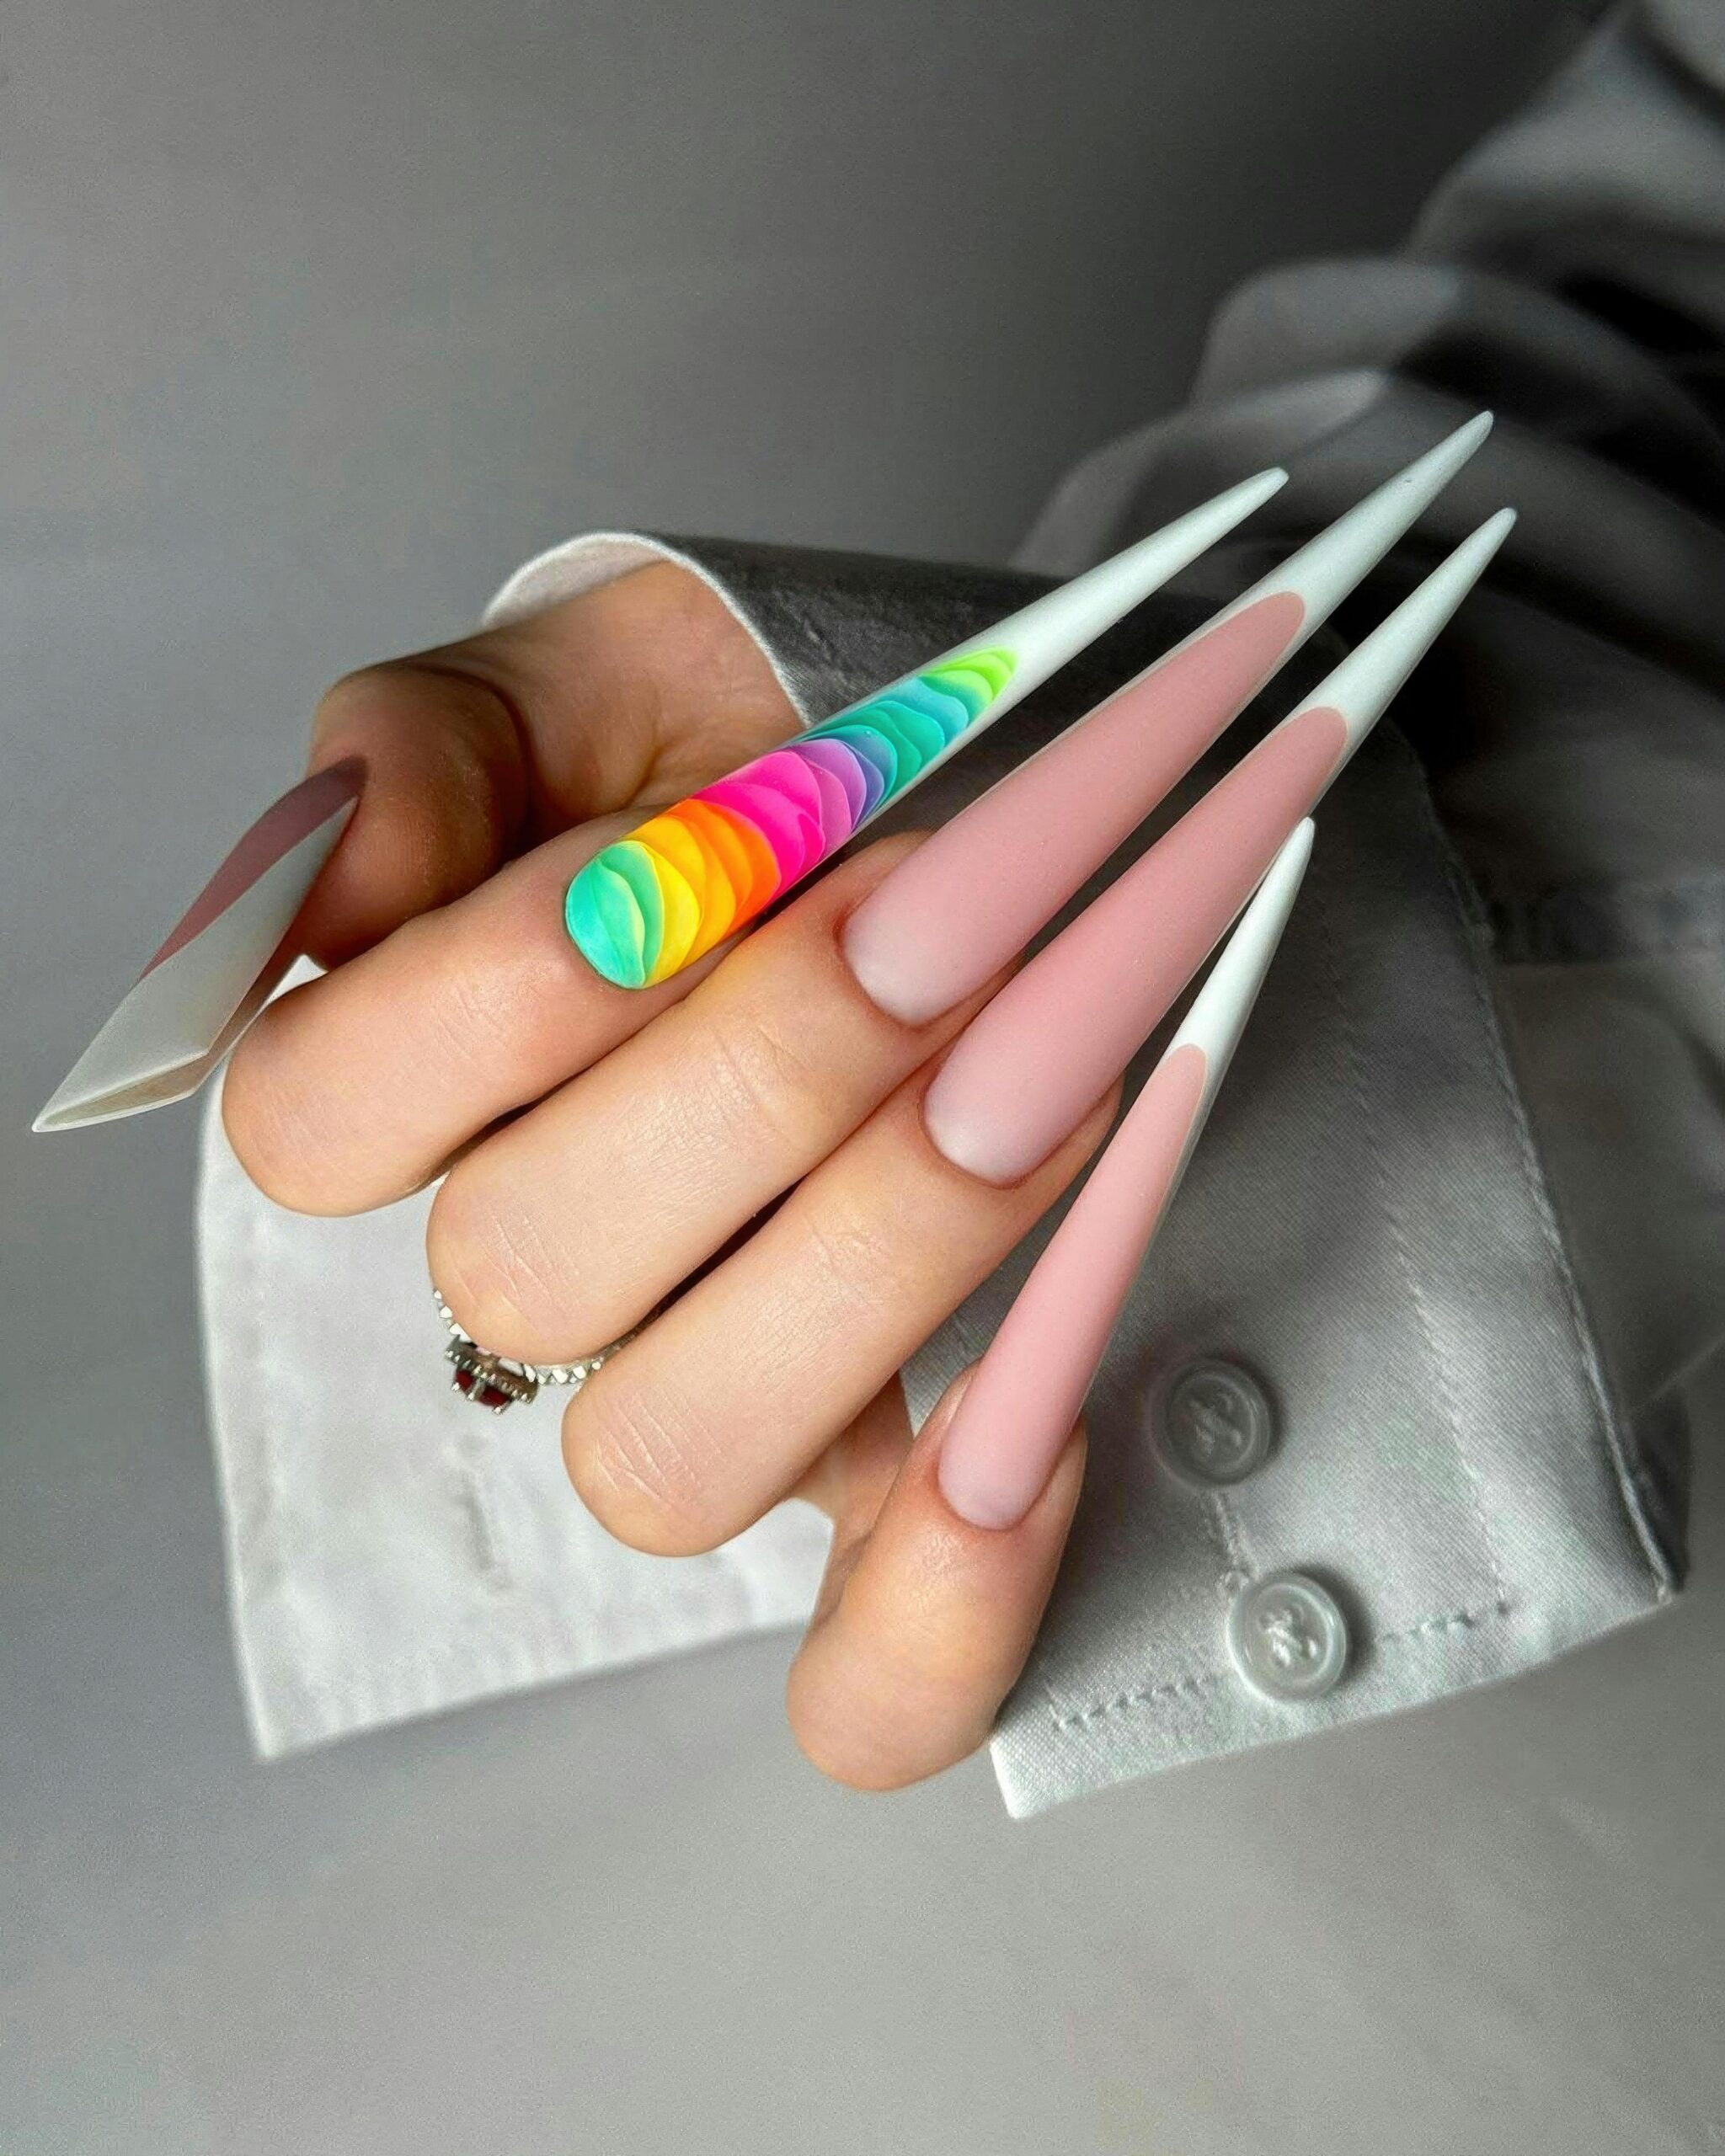
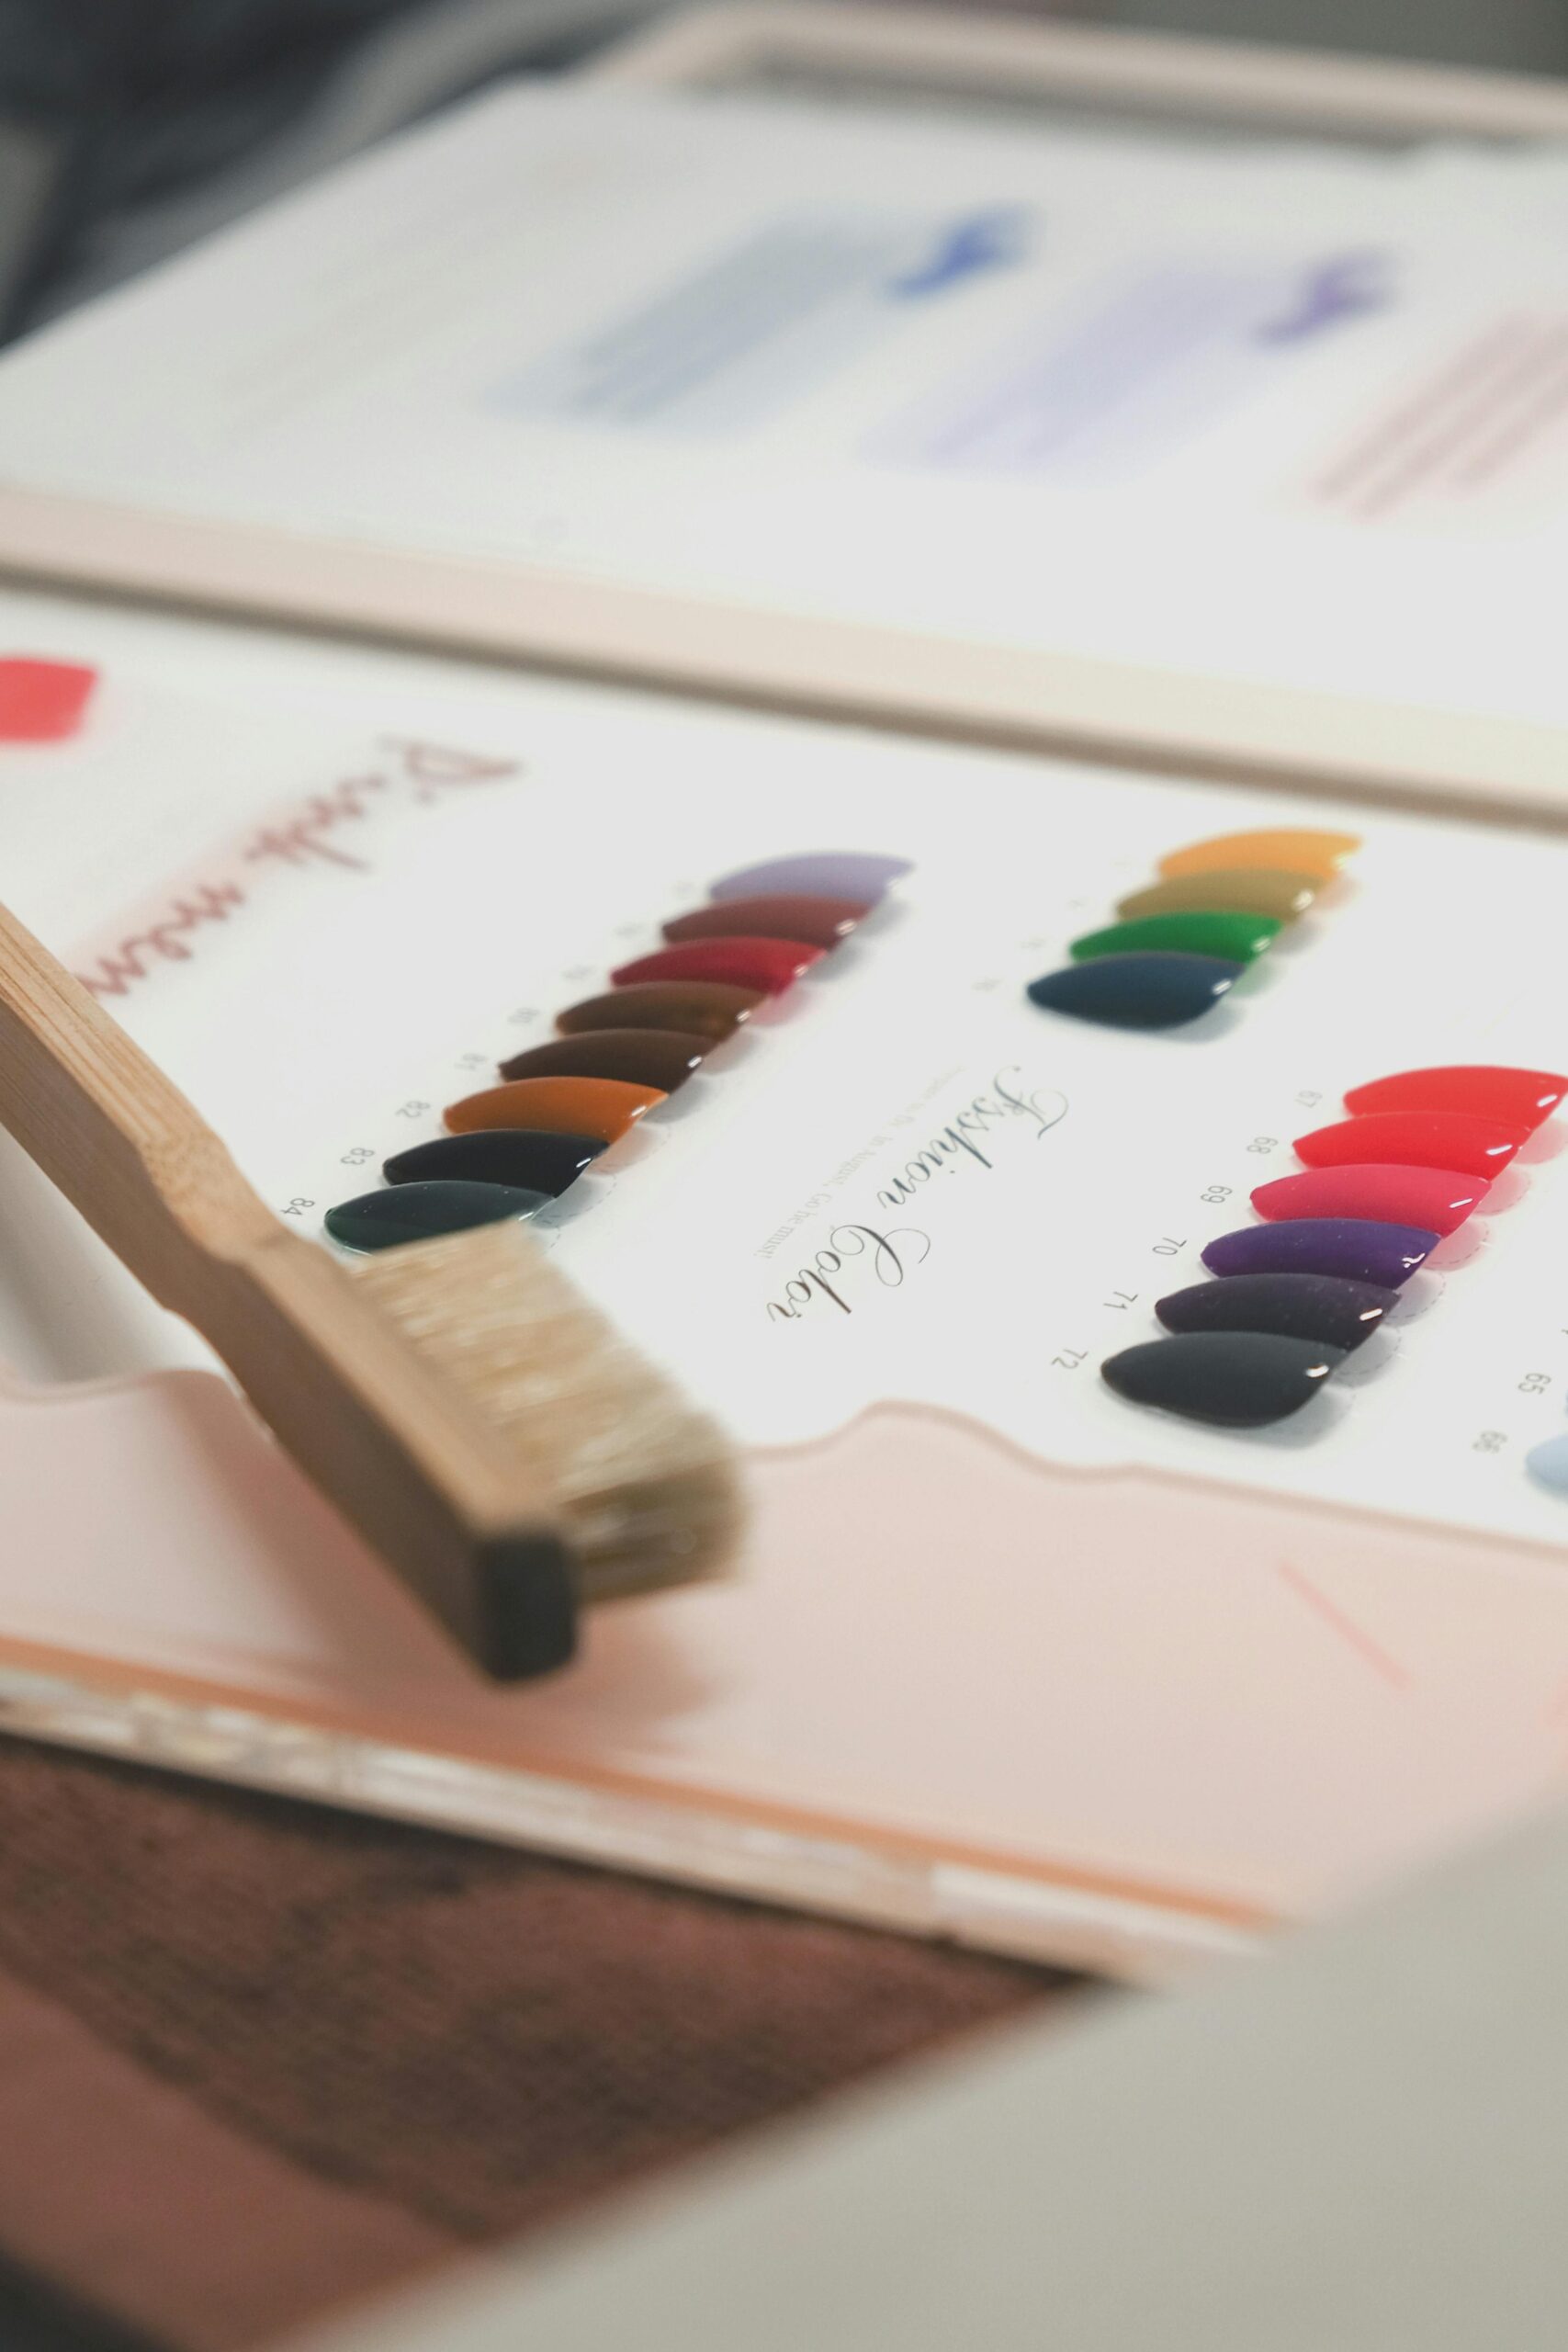
Choose Your Shape
The shape of your nails is a defined element of a combination of personal style with your overall aesthetic, practicality. Whether you choose a bold, modern edge or soft, natural turn, the right shape enhances the symmetry of the hand, complement the length of the finger and adjust with your lifestyle. Below, explore popular nail shapes and master filing techniques to achieve a flawless finish.
Choose your shape
-
Square
- Style:straight sharp, with angular corners.
- For the best: strong, wide nail beds or attractive, looking for a modern look.
- Consideration: Square nails can easily be stripped if the corners are too sharp. Lightly soft edge with file to prevent breakage. Avoid if the nails are weak or are likely to split.
2. Round
- Style:A gentle, semicircular curve that follows the contour of a natural finger.
- Best for: short nails, active lifestyle or those who prefer low maintenance, classic look.
- Consideration: The circular shape reduces the breakdown and is ideal for narrow fingers, creating a balanced look.
3. Almonds/oval
- Style:Taped sides that come to a circular peak, which look like almond seeds.
- Best for: Medium to Long Nails. Expands short fingers and adds a touch of elegance.
- Consideration: Length is needed to achieve a tapered effect. Delicate on tips, so is a regular moisturizing key.
4. Squoval
- Style: A hybrid of squares and oval – with gently rounded edges.
- For the best: versatile and universal compliment. The durability of square nails with oval softening.
- Consideration: A safe choice for weak nails, as the circular edges reduce the points of stress.
Filing technique
- File in one Direction Always file in the same direction (from the outer edge to the center) using a fine-grit file (180+ grit). Creates friction back and forth, producing heat that weakens the keratin layers of the nail, leading to partition or bark. For hard nails, start with a medium-grit file, then switch to a fine for smoothing.
- Follow the Natural Turn Align the file with the free edge of your nail, proceed parallel to the nail bed. For almonds or oval shapes, angle the file diagonally on the sides to create a tapered effect. Check the symmetry by holding the hand side and hand and arranging the need.
- Smooth Edge After shaping, run a little buffer or fine-grit file along the edge of the nail to remove the roughness. This prevents snaging on the cloth and guarantees a polished look.
Pro Tips
- Froves Match the shape of the finger: the slim fingers suit the sharp shape, such as almonds, while the squall balances the wide arm.
- Avoid over-filing: Slowly remove a small amount. Over-filing thin nails, increasing risk.
- Use quality tools: Glass or crystal files offer precision and lifespan, while emery boards are lighter for delicate nails.
Aftercare and Maintenance
Post -Maintenance Care Post-title care ensures that their nails remain strong, bright and healthy among cleaning sessions. A consistent routine prevents fragility, maintains the shape and nourishes nails and surrounding skin.
1. Buff for shine
Use a multi -sided buffer to soften the summons and add the natural shine. Start with the rude side to gently level the imperfections and then progress to thinner grains for polishing. Finish with the smoother side using light and circular movements to create a subtle shine. Avoid excess cleaning sessions-Once a week, as excessive buffing takes up the upper layers of the nail, causing thinning and weakness. Jump this step if the nails are already thin or peeled.
2. Moisturizes
Hydration is critical for flexible nails and flexible cuticles. After washing your hands or post-TRIMESTRE, apply the cuticle oil (rich in jojoba, vitamin E or argan oil) at the base of the nails and massage in circular motions. Follow with a thick manual cream containing shea butter or glycerin to lock moisture. For deep hydration, apply oil before bed and wear cotton gloves at night. Well -moisturized nails resist division, while healthy cuticles act as a barrier against infections.
3. Regular Maintenance
- Trim each 1–2 weeks: Adjust based totally on growth fee. Fingernails develop quicker (~3 mm/month) than toenails (~1 mm/month). Trim earlier than nails snag or broaden uneven edges.
- File as needed: Touch up shapes between trims to prevent jagged edges. Always file in a single route to keep integrity.
- Monitor nail fitness: Watch for discoloration, ridges, or ache—symptoms of fungal problems, nutrient deficiencies, or trauma.
Pro Tips
- Protect nails: Wear gloves during chores to guard nails from harsh chemical substances or water exposure.
- Avoid acetone polish removers: Opt for acetone-loose formulation to save you drying.
- Nourish from inside: Boost nail energy with biotin, zinc, and omega-3s for your weight-reduction plan.
Common Mistakes to Avoid
Even with the best intentions, small defects in nail meadow can cause discomfort, infections or long -term damage. Guiding free of these regular pitfalls ensures that your nails become healthy and beautiful.
1. Over -cutting nail straps
Culticles act as a protective seal for the nail matrix (where new nail cells are formed). Cutting them aggressively – or using sharp tools as nipper – creates tiny openings for bacteria or fungi to invade, leading to redness, swelling or infections such as Paronychia. Instead, slide back softened nail straps with an orange stick after soaking, and just trim loose, dead skin if necessary. Hydrate daily with nail -ribbon oil to keep them pretty without cutting.
2. Using boring or untrue tools
Dull mowers or scissors crush nails instead of cutting clean, cause split or jagged edges. Similarly, dirty tools have pathogens that can transmit to nails or skin, which increases the risk of infection. Sanitize tools of rubbing alcohol before and after each use, and sharpen cutters regularly. Replace rusty or corroded tools immediately.
3. Filing Nails Unevenl
Sailing will with a file will respect creating micro-tears in the keratin layers. This leads to peel, wear out or break. Always archive in one direction, moving from the outer edge toward the center. Check the symmetry comparing the nails in both hands and adjust as needed.
4. Ignoring nail health
Discoloration (yellow, green or white spots), fragility or grooves usually signal underlying problems:
- Yellow nails: may indicate fungal infections.
- Brittle nails: linked to dehydration, nutrient deficiencies (iron, biotin) or excessive use of polishing/removers.
- Vertical Cidors: Usually harmless, but may get worse with age or dehydration.
- Horizontal grooves (Beau lines): may reflect disease, stress or trauma.
Approach persistent questions by consulting a dermatologist or adjusting your care routine (for example, moisturizing more, using gloves during tasks).
Pro Tip
Don’t ignore pain or swelling. Persistent discomfort around nails could indicate an ingrown nail, infection, or allergic reaction. Early intervention prevents complications.


 Buy Now


 Nails")