
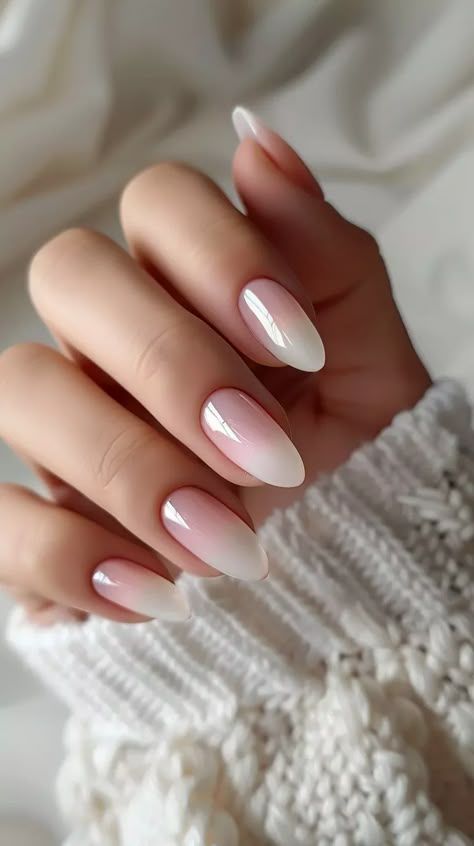
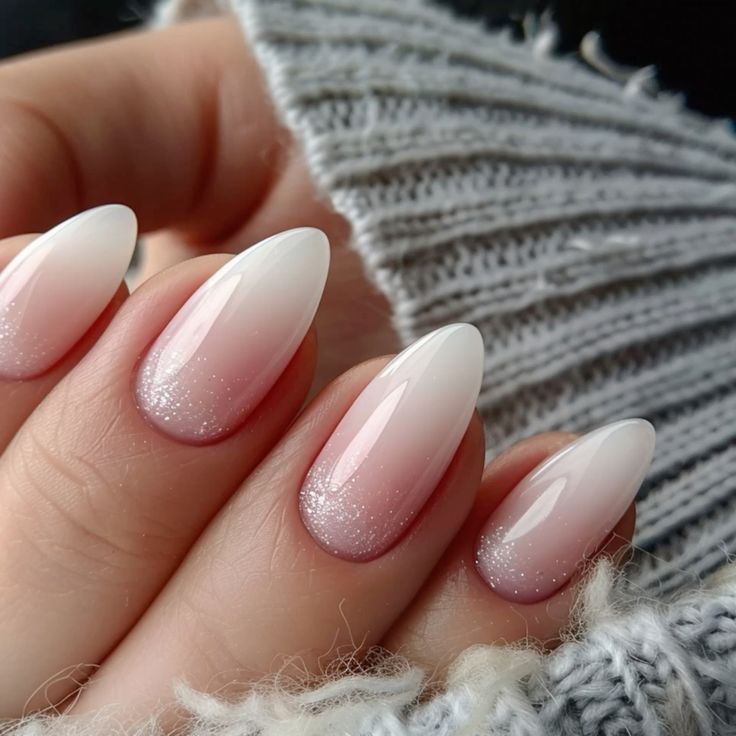
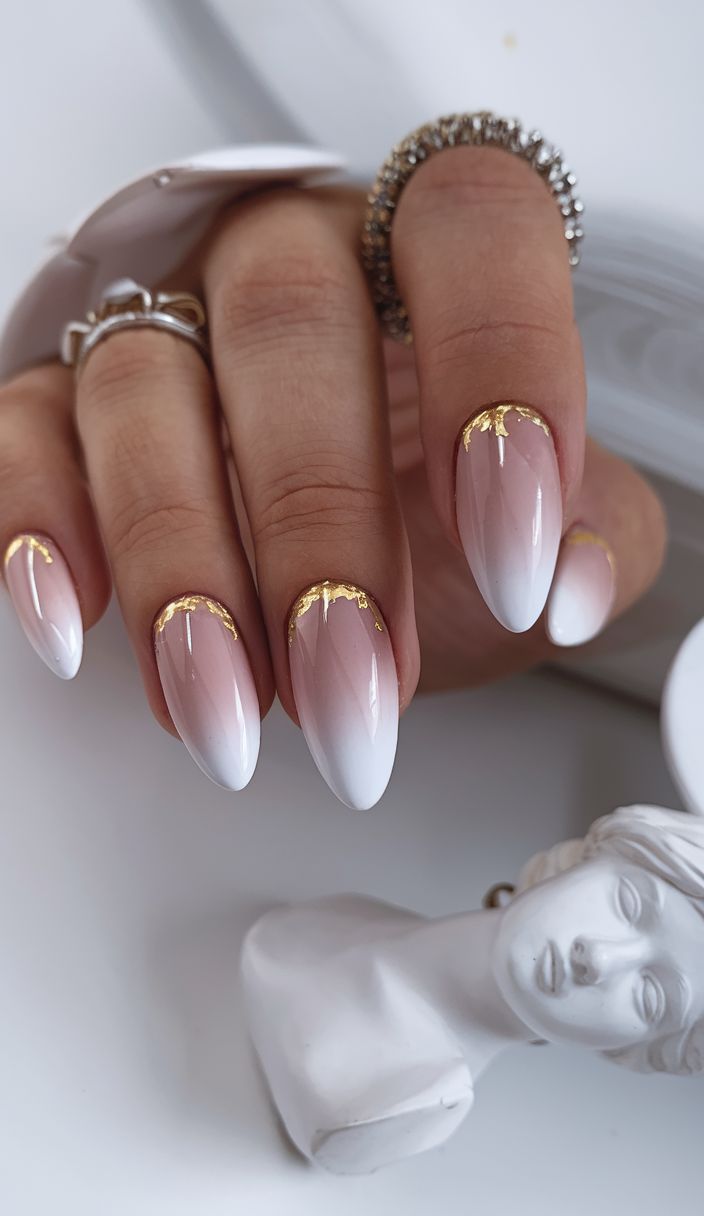
Pink and white ombre nails, regularly referred to as “baby boomer” manicures, offer a timeless and fashionable form that basically mixes smooth red with crisp white. This guard impact is flexible, appropriate for diverse occasions, and supplements a wide range of patterns. Getting this state-of-the-art design domestically is feasible with flawlessly proper equipment, techniques, and little endurance. This manual gives an intensive, step-by-step technique to create ideal pink and white ombre nails using dip powder with additional tips to boom its nail clipping experience.
What are pink and white ombre nails?
The pink and white ombre design is a modern twist on the conventional French manicure. Instead of separate white recommendations, the colors basically mix, forming a tender guard that leaves the sophistication. This style is likewise referred to as “Baby Boomer” nail clipping, which is an indication of its popularity during that era. Its practical elegance makes it appropriate for regular wear and special programs.
Why Choose DIY Pink and White Ombre Nails?
Cost-Effective
Professional salon offerings for ombre nails may be high-priced, often costing upwards of $60 in keeping with consultation. By learning the technique at home, you may acquire salon-exceptional outcomes for a fraction of the rate—about $4 in step with software.
Full Customization
Doing your own ombre nails gives you the ability to tailor the coloration intensity, nail form, and standard appearance to your private desire. You can test with distinct red shades, add glitter, or contain unique designs to make your nail cropping virtually your very own.
Skill Development
Learning this approach enhances your nail artwork competencies, enabling you to experiment with other designs and patterns in the future. Plus, perfecting your ombre approach can cause even more superior nail artistry.
Essential Tools and Materials
Before you begin, acquire the following objects:
Dip Powder System: A complete package usually consists of
Bond: Prepares the herbal nail for product application.
Base Coat: Acts as the adhesive layer for the dip powder.
Activator: Hardens the powder layers.
Sealer: Provides a glossy, shielding finish.
Colored Powders: Soft red (e.g., PA-09) and natural white sunglasses.
Nail Preparation Tools
Nail File and Buffer: For shaping and smoothing the nail surface.
Cuticle Pusher: To lightly ward off cuticles, making sure there is a clean nail mattress.
Lint-Free Wipes and Alcohol: For cleaning the nails and casting off any oils or residues.
Application Accessories
Small Fluffy Brush: Essential for mixing the powders to acquire the ombre effect.
Brush Softener: Helps preserve the power and cleanliness of brushes all through the application procedure.
Step-by-Step Guide to Achieving Pink and White Ombre Nails
1. Nail Preparation
- Cleanse: Remove any current nail polish and wash your palms thoroughly.
- Shape: Use a nail report to acquire your favored nail form, together with square, oval, or coffin.
- Buff: Gently buff the nail floor to remove shine, allowing better adhesion of the dip powder.
- Cuticle Care: Push back the cuticles to create a neat and elongated nail mattress.
- Sanitize: Wipe each nail with a lint-unfastened wipe soaked in alcohol to eliminate oils and particles.
2. Bond Application
Apply Bond: Evenly coat each nail with the Bond answer. Allow it to dry absolutely. This step ensures top of the line adhesion of next layers
3. Base Coat and Initial Dipping
- Base Layer: Apply a thin, even layer of the base coat, being cautious to avoid the cuticle place.
- First Dip: Immediately dip the nail into the Base & Finish powder. Tap off excess powder gently. This foundational layer provides electricity and durability.
4. Building the Pink Base
- Second Base Coat: Apply another skinny layer of base coat.
- Pink Powder Dip: Dip the nail into the gentle crimson powder (PA-09). Tap off extra and use the fluffy brush to do away with any final loose powder.
5. Creating the Ombre Effect
- Base Application: Apply a thin layer of base coat over the whole nail.
- White Powder Application: Dip the fluffy brush into the natural white powder. Position the comb near the nail tip and lightly tap it to launch the powder onto the tip area, creating a gradient impact.
- Blend: While the base coat is still tacky, dip the whole nail lower back into the crimson powder (PA-09) to mix the colors seamlessly.
6. Repeat for desired intensity
- Layering: Repeat the ombre application process (steps 4 and 5) until the intensity of the desired color and the Grad Fill effect are achieved. Typically, 2-3 layers are sufficient.
- Brush Maintenance: Clean the fluffy brush periodically using a brush softener to prevent powder buildup and ensure easy application.
7. Final base and finished level
- Seal the design: Apply the final thin layer of the base coat and dip the nail in the base and finish powder. This step accommodates the design, adding power and preparing a nail for activation.
8. Activation
- Apply Activator: Apply activator on all nails generously. Let them dry well. The activator hardens the powder layers, ensuring durability.
- Drying time: In a humid environment, consider increasing drying time to ensure complete hardening.
9. Shape and smoothing
- Refine shape: Use a nail file to complete the nail shape, ensuring uniformity in all nails.
- Buffing: Buff the nail surface gently to make any rough spots easier and create a uniform and professional-looking finish.
Final touches and long life tips
Sealing and blank finish
- Apply a last layer of sealant to improve the shine and protect the ombre design.
- Let it dry completely before exposing your hands to water or applying cuticle oil.
Maintenance tips
- Avoid excessive exposure to water, as it may weaken the adhesion of the dip powder.
- Apply cuticle oil daily to keep nails and surrounding skin hydrated.
- Wear gloves when doing housework to extend the life of your manicure.
Conclusion
Pink and white ombre nails are an elegant choice that fits any occasion. With the right tools and techniques, you can achieve salon-quality results from your home. Whether you prefer a soft, subtle gradient or oily contrast, mastering this technique allows for endless creativity and adaptation. Start practicing today, and soon you will flutter flawless pink and white ombre nails with confidence!
