

Short round nails have become a trend in modern nail aesthetics, observed for their mixture of elegance and practicality. It is characterized by the classic shape, its gentle curve that reflects the natural contour of the fingers, and its timely appeal that suits various lifestyles and preferences.
Popularity and practicality
The resurrection of short round nails aligns with a broader tendency towards minimal and natural beauty. Their low-ravishing nature makes them ideal for individuals with active routines or businesses that require repeatedly using hands, such as typing or crafting. In addition, her sensible elegance is evenly embraced by fashion designers and celebrities, and their position in contemporary beauty standards has been further strengthened.
Benefits of Choosing a Round Shape for Short Nails
- Durability: The rounded edges of this nail form lessen the chance of snags and breaks, imparting improved electricity as compared to sharper nail shapes.
- Natural Appearance: Following the natural curve of the fingertip, round nails offer a smooth and polished appearance that enhances various hand styles and sizes.
- Versatility: Their simplicity serves as a super canvas for each diffused and complicated nail art design, accommodating an extensive variety of personal styles.
- Ease of Maintenance: Short round nails require less renovation, making them a sensible choice for those looking for an elegant yet fuss-free nail cutting.
In essence, short round nails provide a harmonious stability between style and capability, making them a favored choice for plenty in search of a refined and conceivable nail aesthetic.
Tools and materials require
Nail cutter
A high-quality nail clipper is required to trim nails to your desired length before giving shape. Opt for a stainless steel clipper for durability and accuracy. It is advisable to use separate clippers for nails and toenails to maintain hygiene and ensure proper care for each.
Fine-Grey Nail File (preferably glass)
A fine nail file, especially a glass one, is ideal for shaping small round nails. Glass files are more hygienic than standard emery boards, and their fine grit allows for accurate filing, leaving the risk of nail splitting. They also smooth and seal freshly filed edges and prevent breaks and peeling.
Cuticle Pusher
With the aid of a cuticle pusher, the cuticles can be pushed back and the nail bed prepared well; the pusher makes sure it is neat and the nail bed is clean. The tool is important for the well-being of the nails and for a manicure that is well done.
Cuticle Oil
Application of cuticle oil is also helpful as it helps the skin that is around the nails and aids the growth of the nails, thus helping promote growth. The oil should also have good and effective outcomes, so one that has the natural elements of jojoba or vitamin E will do just fine.
Hand Moisturizer
Thus, to serve the purpose of maintaining health, strength, and appearance, moisturizing hands and nails is pivotal. A good hand moisturizer also averts the nails chapping or drying, making sure they are healthy and flexible. Optional: Nail buffer, base coat, nail polish, and top coat.
Moreover, while these things are optional, they will certainly enhance your manicure and change it in a positive way.
- Nail Buffer: A device that smoothes your nail by getting rid of ridges, adding polish, and adding a natural shine.
- Base Coat: A coating that goes in between your nail and the colored polish to provide protection from staining while also enhancing adhesion.
- Nail Polish: Serves the purpose of coloring and styling your nails.
- Top Coat: Assists in sealing nail polish while also extending its use.
Well, with these tools and the materials at hand, it becomes easy to have stylish, short, round nails while keeping them healthy.
Preparing the Nails
Remove Any Nail Polish
- Step 1: Old polish has to be removed gently by a non-acetone remover.
- Step 2: If many coats are used, one may have to swipe a few times to remove all polish.
- Tip: Avoid any strong concoction with acetone, as this dries your nails and makes them prone to breaking. Use a nourishing and gentle remover so that you can spare your nails the torture.
Wash fingers thoroughly and dry
- Step 3: After your nail polish-unfastened, wash your palms with cleaning soap and water.
- Step 4: Dry your palms with a smooth towel. It could be very vital in cleansing the surface of your nails with oils or dust that can intrude with the procedure of giving full form.
- Tip:Make certain to dry the hands very well because water might soften the nail bed and lead to breaking during filing.
Soak Nails for Some Minutes in Warm Water for Softening Cuticles
- Step 5: Take a small bowl of quite warm (not hot) water and soak the nails for three to five minutes. The warm water will soften your cuticles, which will make it much easier to push it back and less likely to tear during shaping.
- Step 6: Olive or cuticle oil could be added for more effect so that it gives more moisture to your cuticles and nails.
- Tip: Just avoid soaking for too long, as excess exposure to water would itself weaken the nails and make them more susceptible to breaks and splits.
Following the above preparations will put those nails on the best possible track for trimming, filing, and shaping until perfect short round nails are reached.
2. Trim to Desired Length
Use Nail Clippers to Cut Nails Straight Across to the Desired Short Length.
- Step 1: Start by using choosing an excellent great nail clipper. Stainless metal clippers are perfect for their sturdiness and precision. Ensure the clipper is smooth and unfastened from any debris before use.
- Step 2: Position the clipper over the nail and reduce in a single clean motion across the nail, making sure to maintain a straight line. For quick round nails, trim the nails to a length just above the fingertip. This guarantees a attainable period that’s smooth to form.
- Tip: Avoid clipping an excessive amount of right now. If you’re unsure about the length, trim a touch bit at a time to make certain you don’t cut too quick. You can constantly trim greater if wanted.
Avoid Cutting Too Close to the Skin to Prevent Discomfort
- Step 3: Be careful now not to clip too close to the cuticle or skin, as this can reason pain or inflammation. Leave a small quantity of nail above the pores and skin to prevent the threat of cuts or damage.
- Step 4: If you by chance clip too close to the pores and skin, follow some cuticle oil to help soothe the location and prevent infection.
- Tip: Never cut into the cuticle or the skin surrounding your nails. Doing so can increase the threat of infections or painful hangnails.
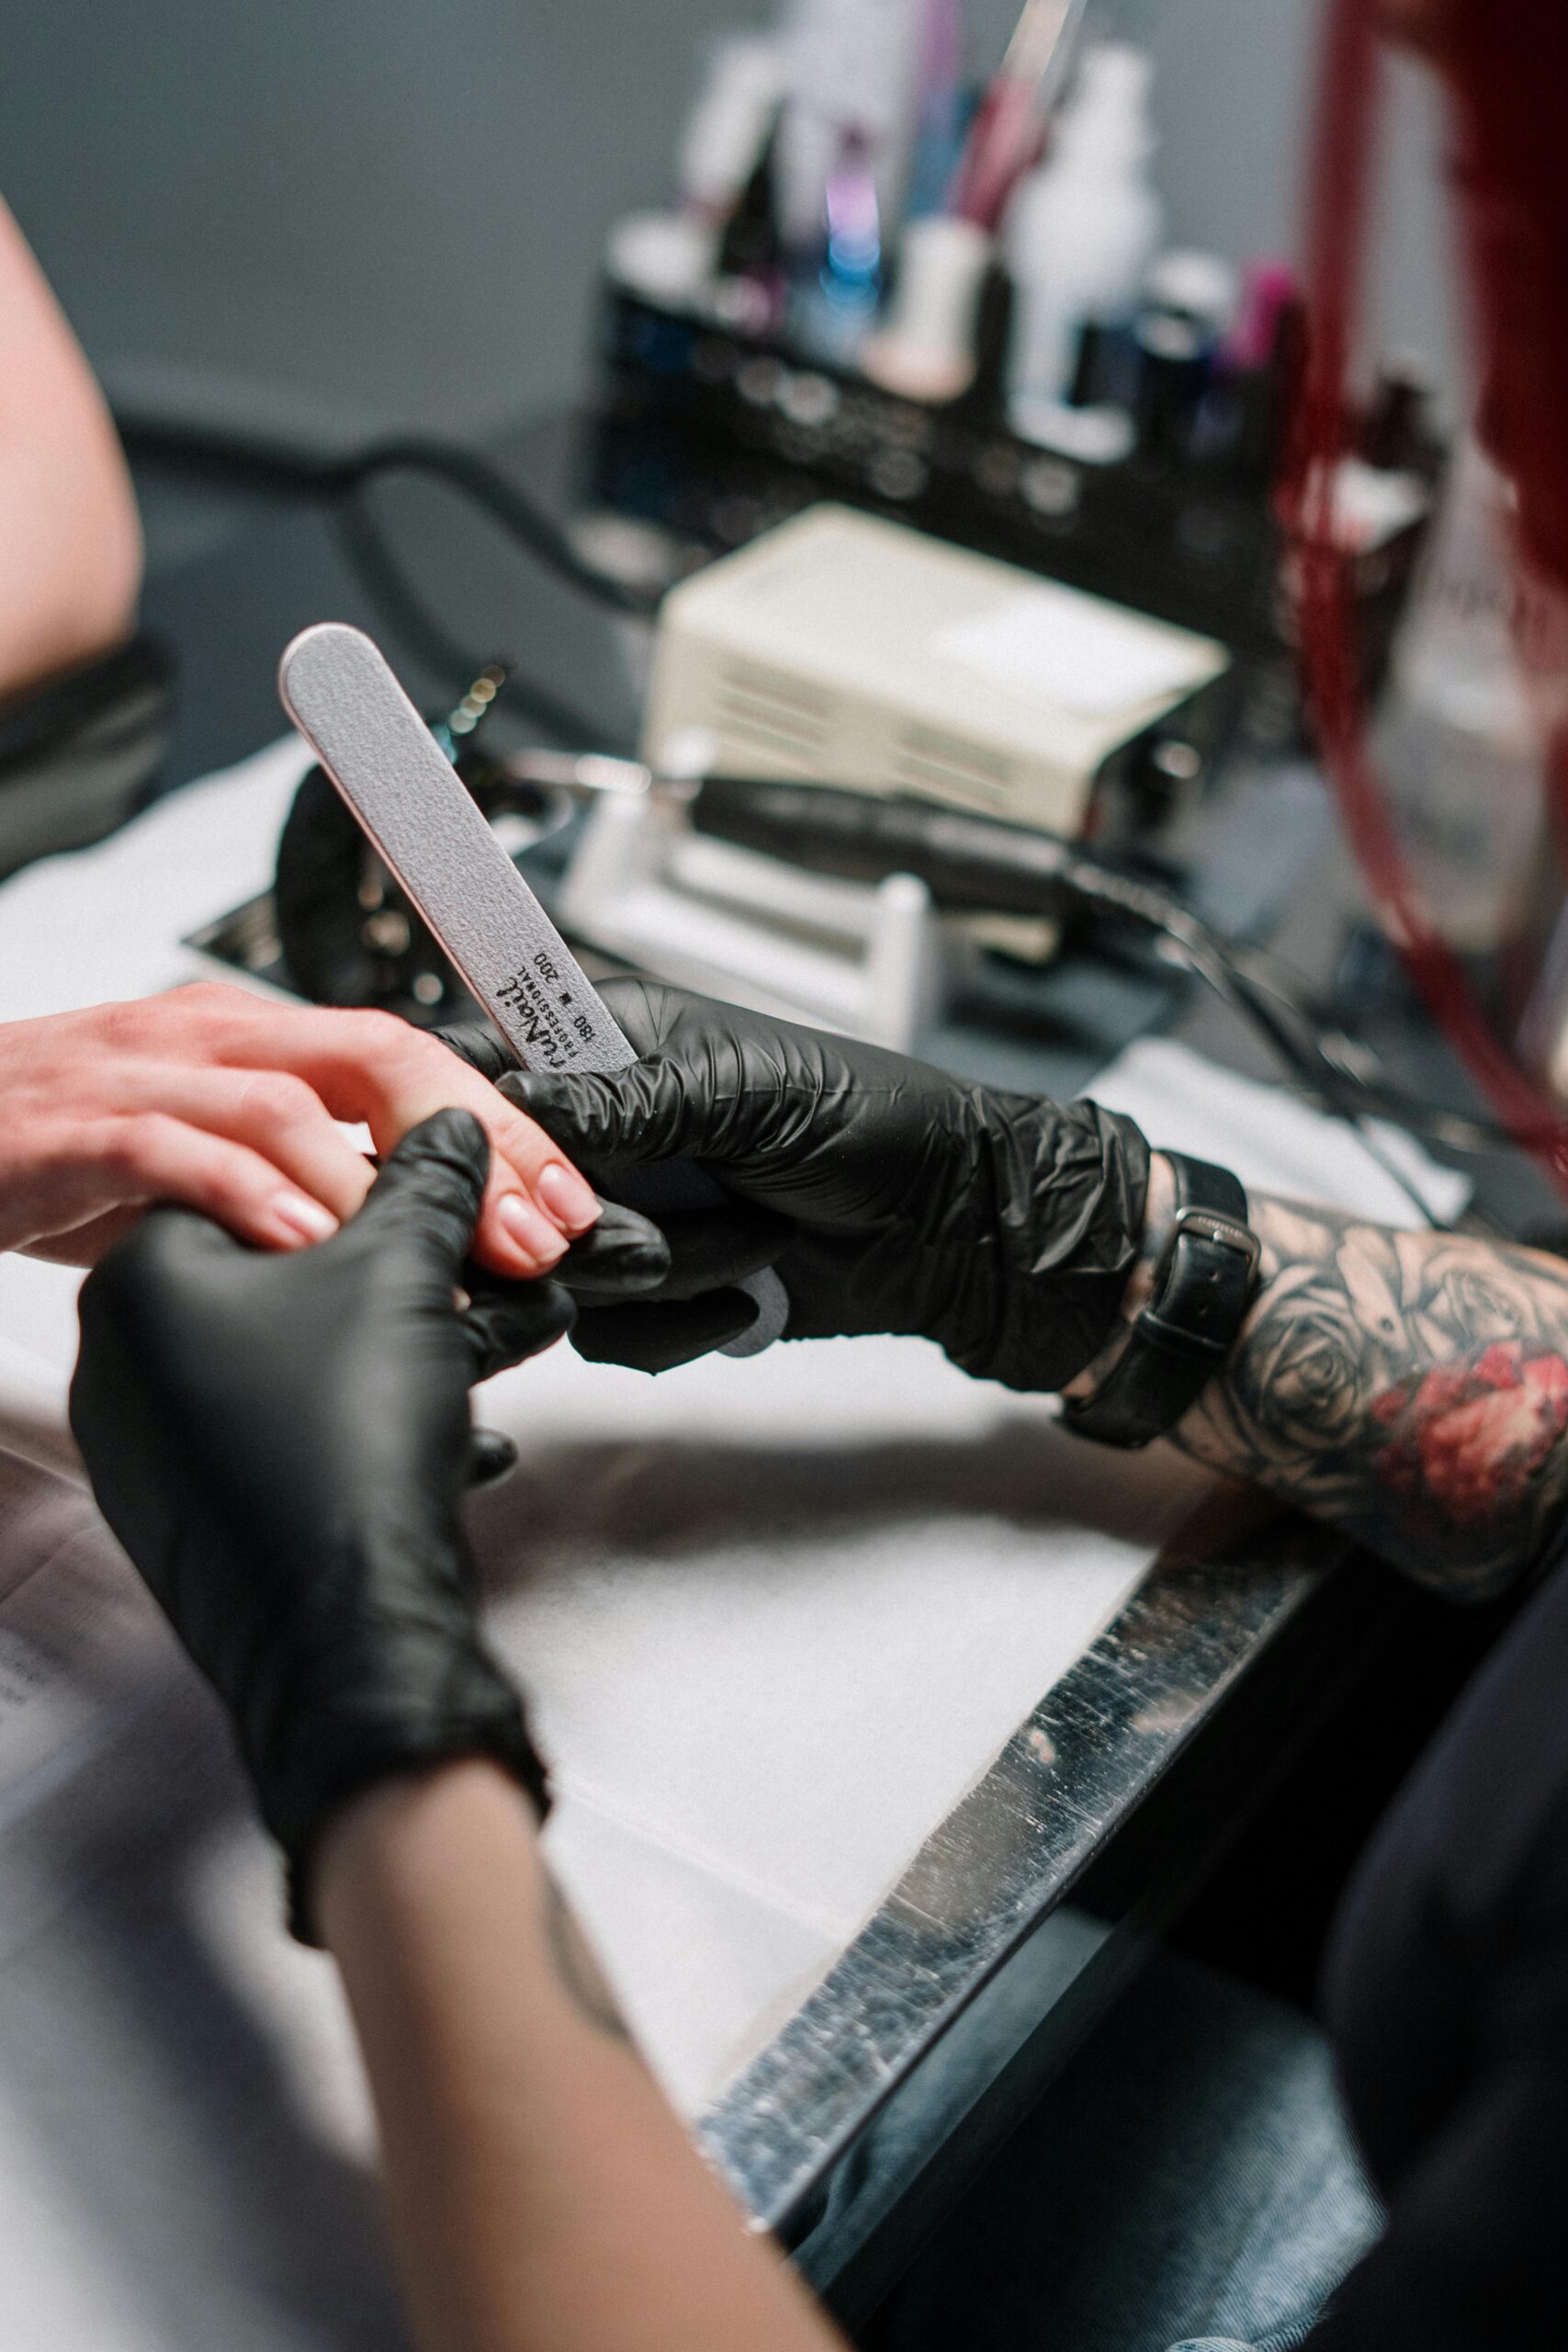
3. Shape the Nails
Hold the Nail File at a Slight Angle to the Nail Edge
- Step 1: Choose a exceptional-grit nail file, preferably a tumbler one, for a smoother finish. Hold the report at a mild perspective, around 45 tiers, to the brink of your nail. This ensures that you’re no longer filing too aggressively, that could reason your nails to weaken or cut up.
- Tip: Use a tumbler record if viable, because it affords a smoother, cleanser finish compared to steel or emery boards and reduces the threat of nail damage.
File the Sides of the Nail in One Direction to Create a Rounded Edge
- Step 2: Gently record the perimeters of every nail to soften the sharp edges and create the round form. Always report in a single route, from the out of doors closer to the middle of the nail. This minimizes the chance of inflicting splits or fraying at the nail aspect.
- Step 3: Focus on submitting in small, controlled motions. Don’t rush the system, as careful filing is key to attaining a symmetrical and neat spherical form.
- Tip: Filing in a back-and-forth movement can reason the nail to grow to be jagged, so always stick to submitting in a single direction for the first-class result.
Gently File the Tip of the Nail to Smooth and Round It, Following the Natural Curve of Your Fingertip
- Step 4: Once the sides of the nails are filed, flip your interest to the hints. File the rims lightly, following the natural curve of your fingertip. The intention is to round off the sharp corners, growing a smooth and rounded shape that mirrors the curve of the fingertip.
- Step 5: Ensure that the top isn’t too flat or too curved. A balanced curve is prime to creating a clearly stunning, quick round nail form.
- Tip: You can test the form through lightly running your finger over the nail to check if the rims feel easy or even.
Repeat the Process for Each Nail, Ensuring Symmetry
- Step 6: Go nail by means of nail, ensuring that every one nails are shaped calmly. Symmetry is crucial for a neat and polished nail cropping, so check every nail as you go to make sure they match in form and size.
- Tip: If needed, you may evaluate nails visually via maintaining them facet by means of facet to make sure they align in shape.
4. Care for Cuticles
Slowly push backwards using a cutting push
- Step 1: After shaping your nails, this is the time to take care of your cuticles. Using a cuticle push, it was lightly defeated by the cuticle (thin layer of pores and skin that overlaps the nail). This step creates a smooth and polished look, making the nails long and properly made.
- Step 2: To soften the first cuticles through soaking your nails in heat water (as referred to within the guidance phase), to throw back with the intention of making the cuticles more viable and simplified.
- Tip: Use soft stress while pushing the cuticles back. It is not very difficult, as it can cause discomfort or damage to sensitive pores and skin around the nails. To reveal the nail bed, they only have the quality of pushing them to the lower back, which improves the normal form of nail biting.
Apply Cuticle Oil to Nourish and Moisturize the Cuticle Area
- Step 3: Once the cuticles are operated at the lower back, apply a nutritious cuticle oil in the area. This will help keep the cuticles hydrated and will help you protect them from dried or torn.
- Step 4: Slowly rub the oil in the cutting place and surrounding pores and skin. It is not the simplest nourishes the skin, but also promotes healthy nail growth.
- Tip: Regular use of cutting oil can help prevent hangnals, cracks and dryness, making your nails look healthy. To bring nutrition, look for oils with natural ingredients including Jojoba, Vitamin E, or argon oil.
5. Buff and smooth (optional)
Use a nail buffer to clean the surface of every nail
- Step 1: After forming and being concerned to your nail leashes, you may use a nail buffer to smooth the surface of each nail lightly. A nail buffer generally has several facets: a tough facet to easy out ridges and a pleasing aspect for sharpening.
- Step 2: Start by buffing the entire floor of each nail using the coarse facet carefully. Buff in one direction to keep away from causing uneven surfaces or damage to the nail.
- Step 3: When the floor is easy, switch to the finer side of the buffer and lightly polish the nails. This adds a natural shine and allows to clean out much less imperfections at the nail floor.
- Tip: Be cautious when buffering, as overbuffing can weaken the nail and reason a fracture. Sift on a clean, even surface rather than a shine with excessive shine.
This step improves the shine and prepares nails for Polish utility
- Step 4: Buffing no longer best creates a easy, ideal nail surface, however it additionally improves the natural shine of your nails, making them appearance more healthy.
- Step 5: If you choose to use nail polish, the buffing the Polish allows to paste higher, ensuing in an extended -lasting nail trimming. This guarantees that the sprucing is going easily and calmly, with out lines or bubbles.
- Tip: If you are making plans to pass Polish, the buffing still gives your nails a refined, natural look with none colour, giving them a sleek finish this is simply as beautiful.
6. Moisturize Hands
Apply moisturizer to keep the skin hydrated
- Step 1: After finishing all its nail care steps, it’s far important to use the moisturizer to maintain the pores and skin hydrated and healthy. Choose a wealthy and nutritious cream or lotion, in particular that carries factors in conjunction with shea butter, glycerin or nutrition E.
- Step 2: Apply a generous amount of moisturizer to both palm trees, which specializes in regions in which the skin may be dry or cracked, along with joints and cuticles.
- Tip: Opt for a hand cream with a thick consistency as this can better defend the pores and skin and block moisture, keeping your hands kind and flexible.
Massage lotion inside the arms and nails to improve movement
- Step 3: True the lotion on the fingers, paying unique interest on nails and cuticles. Massage improves blood flow in nail beds, selling healthy nail growth.
- Step 4: When massaging, be sure to work the lotion at some point in the hand, now not simply preacher. This makes it easy to soften pores and skin and keep your palms easy and nourished.
- Tip: Book a time during this step, as it not only facilitates hydration, but also offers rest and tension relief.
7. Apply nail polish (Optional)
Apply a base coat to protect the nails
- Step 1: Before making use of any color, begin with a base coat. It acts as a protective layer between your nails and nail polish, prevents staining and facilitates to observe polish higher.
- Step 2: Apply a thin, even layer of the bottom coat over the whole surface of each nail. Be positive to cover the rims to seal the nails and prevent any chipping.
- Tip: Allow the base coat to dry completely before going to colour application. A dry base coat creates a smooth floor for polish that moves more lightly.
Apply coats of your preferred nail polish colour
- Step 3: Once the base coat is dry, apply your selected nail polish color. Start by using brushing a skinny layer of polish under the middle of the nail, then fill in the aspects.
- Step4: Let the first coat dry for a few minutes, then follow a second coat for more vibrant and opaque colorings.
- Tip: When applying polish, goal for clean, even stroke, and keep away from overloading brushes to prevent strains or choppy coverage.
End with a pinnacle coat for extra glow and longevity
- Step 5: Once your nail color is absolutely dry, follow a pinnacle coat to seal the polish and upload a brilliant end. The top coat no longer handiest enhances the glow, but additionally will increase the wear and tear of your nail cutting via avoiding chips and scratches.
- Step 6: Apply the pinnacle coat in long, even in stroke, cover the complete floor and pointers of the nail.
- Tip: To growth the durability of your nail trimming, re -follow a thin layer of top coat every few days to refresh shine and make the polish look fresh.
Maintenance tips for small round nails
File regular nails to maintain round shape
- Tip 1: To clean and polish your brief circular nails, often record them to maintain circular shapes. Over time, the nails can additionally grow unevenly, so every week or two a small report allows them to keep them symmetrical and clean.
- Step 1: Use an extraordinary-grit nail document and document in a path to save nail damage. Gently shape the edges of your nails to keep the herbal round curve.
- Tip 2: Now be careful not to report very aggressively. Regular touch-amirhev is enough to be enough to find your nails to find clean without losing their herbal electricity.
- Step 2: Apply chickpea oil every day under your nails and rub it down. In addition, use a rich hand cream to keep your palms and nails hydrated during the day.
- Tip 3: Consider using a thick moisturizer or oil before bedtime, allow it to be painted in a single day for maximum hydration and nutrition. Avoid using nails as a tool to reduce chipping risk
- Tip 4: One of the maximum important behavior to adopt is to keep away from the use of your nails as a gear. Using your nails to open programs, scrape the surfaces, or pry cases can inspire open chips, brakes and famous wear.
- Step 3: Always use the right equipment, including scissors, A can opener, or a flathed screwdriver, in the preference of counting on your nails.
