

French tip nails are elegant and timeless. They have been loved for decades. This classic look has changed over time, adding new styles and trends.
Nail art lovers, rejoice! We’re sharing the top 10 nail designs. They show the beauty and class of French tip nails. Our list has designs for everyone, from simple to fancy.
In this article, we’ll show you the most beautiful nail art designs. We’ll also give you step-by-step guides to do them at home.
Key Takeaways
- Discover the top 10 French tip nail designs
- Learn how to create stunning nail art at home
- Get step-by-step tutorials for each design
- Explore the versatility and elegance of French tip nails
- Find inspiration for your next nail art look
The Timeless Appeal of French Tip Nails
French manicures have been around for centuries. They keep changing with fashion but always stay popular. This classic look has been loved for a long time.
History of the French Manicure
The French manicure started in the 18th century in France. It was a sign of elegance and wealth. The white tip and pink or beige base became famous in the 1970s and 1980s, thanks to Hollywood stars.
The evolution of the French manicure shows its lasting charm. Nail artists have tried new colors and designs. They’ve made the French tip a blank canvas for art.
Why French Tips Remain Popular
French tip nails are loved for many reasons. They can be fancy or simple, fitting any event. The design is easy to play with, letting you add your own twist.
| Reasons for Popularity | Description |
| Versatility | French tips fit any event, from fancy to casual. |
| Classic Appeal | The timeless look keeps French tips in style forever. |
| Creativity | The simple design lets you try many creative ideas. |
French tip nails’ lasting popularity shows their timeless charm and flexibility. They’re perfect for a classic look or something bold and new. French tip nails let you show your style in many ways.
Essential Tools and Materials for Creating French Tip Nails
To get salon-curvature French tip nails at home, you need some major supplies. The correct equipment and material make the work easier. They also help you to achieve a professional form. Basic Nail Care Supplies First, you need basic nail care stuff. You’ll need a nail clipper to trim your nails. A nail file helps shape them. And a cuticle pusher or cuticle remover keeps your cuticles in check.
A nail buffer is also key for a smooth nail surface. Getting a good nail care kit is smart. It usually has all you need for prep work. Taking care of your nails and cuticles is the first step to perfect French tips.
French Tip Specific Tools
For precise French tips, you need special tools. A nail guide or sticker helps draw a straight line. Or, you can use a French tip brush or a regular brush if you’re steady.
Recommended Polishes and Products
The right nail polish is key for French tips. You’ll need a base coat, a white tip polish, and a nude or pink polish. Don’t forget a top coat to seal and shine.
Choose polishes known for quality and quick drying. Brands with good reputations for French tips are a good pick.
Preparing Your Nails for the Perfect French Tip
To get the perfect French tip, start with clean and well-shaped nails. Proper preparation is key for a long-lasting manicure.
Proper Nail Cleaning and Shaping
Before painting, clean and shape your nails. Remove old polish with a gentle remover. Then, wash your hands to remove oils or residue.
Next, shape your nails to your liking. Use a nail file to make edges even and smooth. For a classic French tip, choose a moderately curved nail shape.
Creating the Ideal Base
After cleansing and shaping, create a really perfect base on your French tip. Apply a base coat to protect your nails and assist polish stick. Let it dry completely before you pass on. A precise base coat makes your nail cutting remain longer and look higher. Choose one that enables your polish to remain and forestalls staining. By following those steps, you will get a stunning French tip that looks professional and lasts.

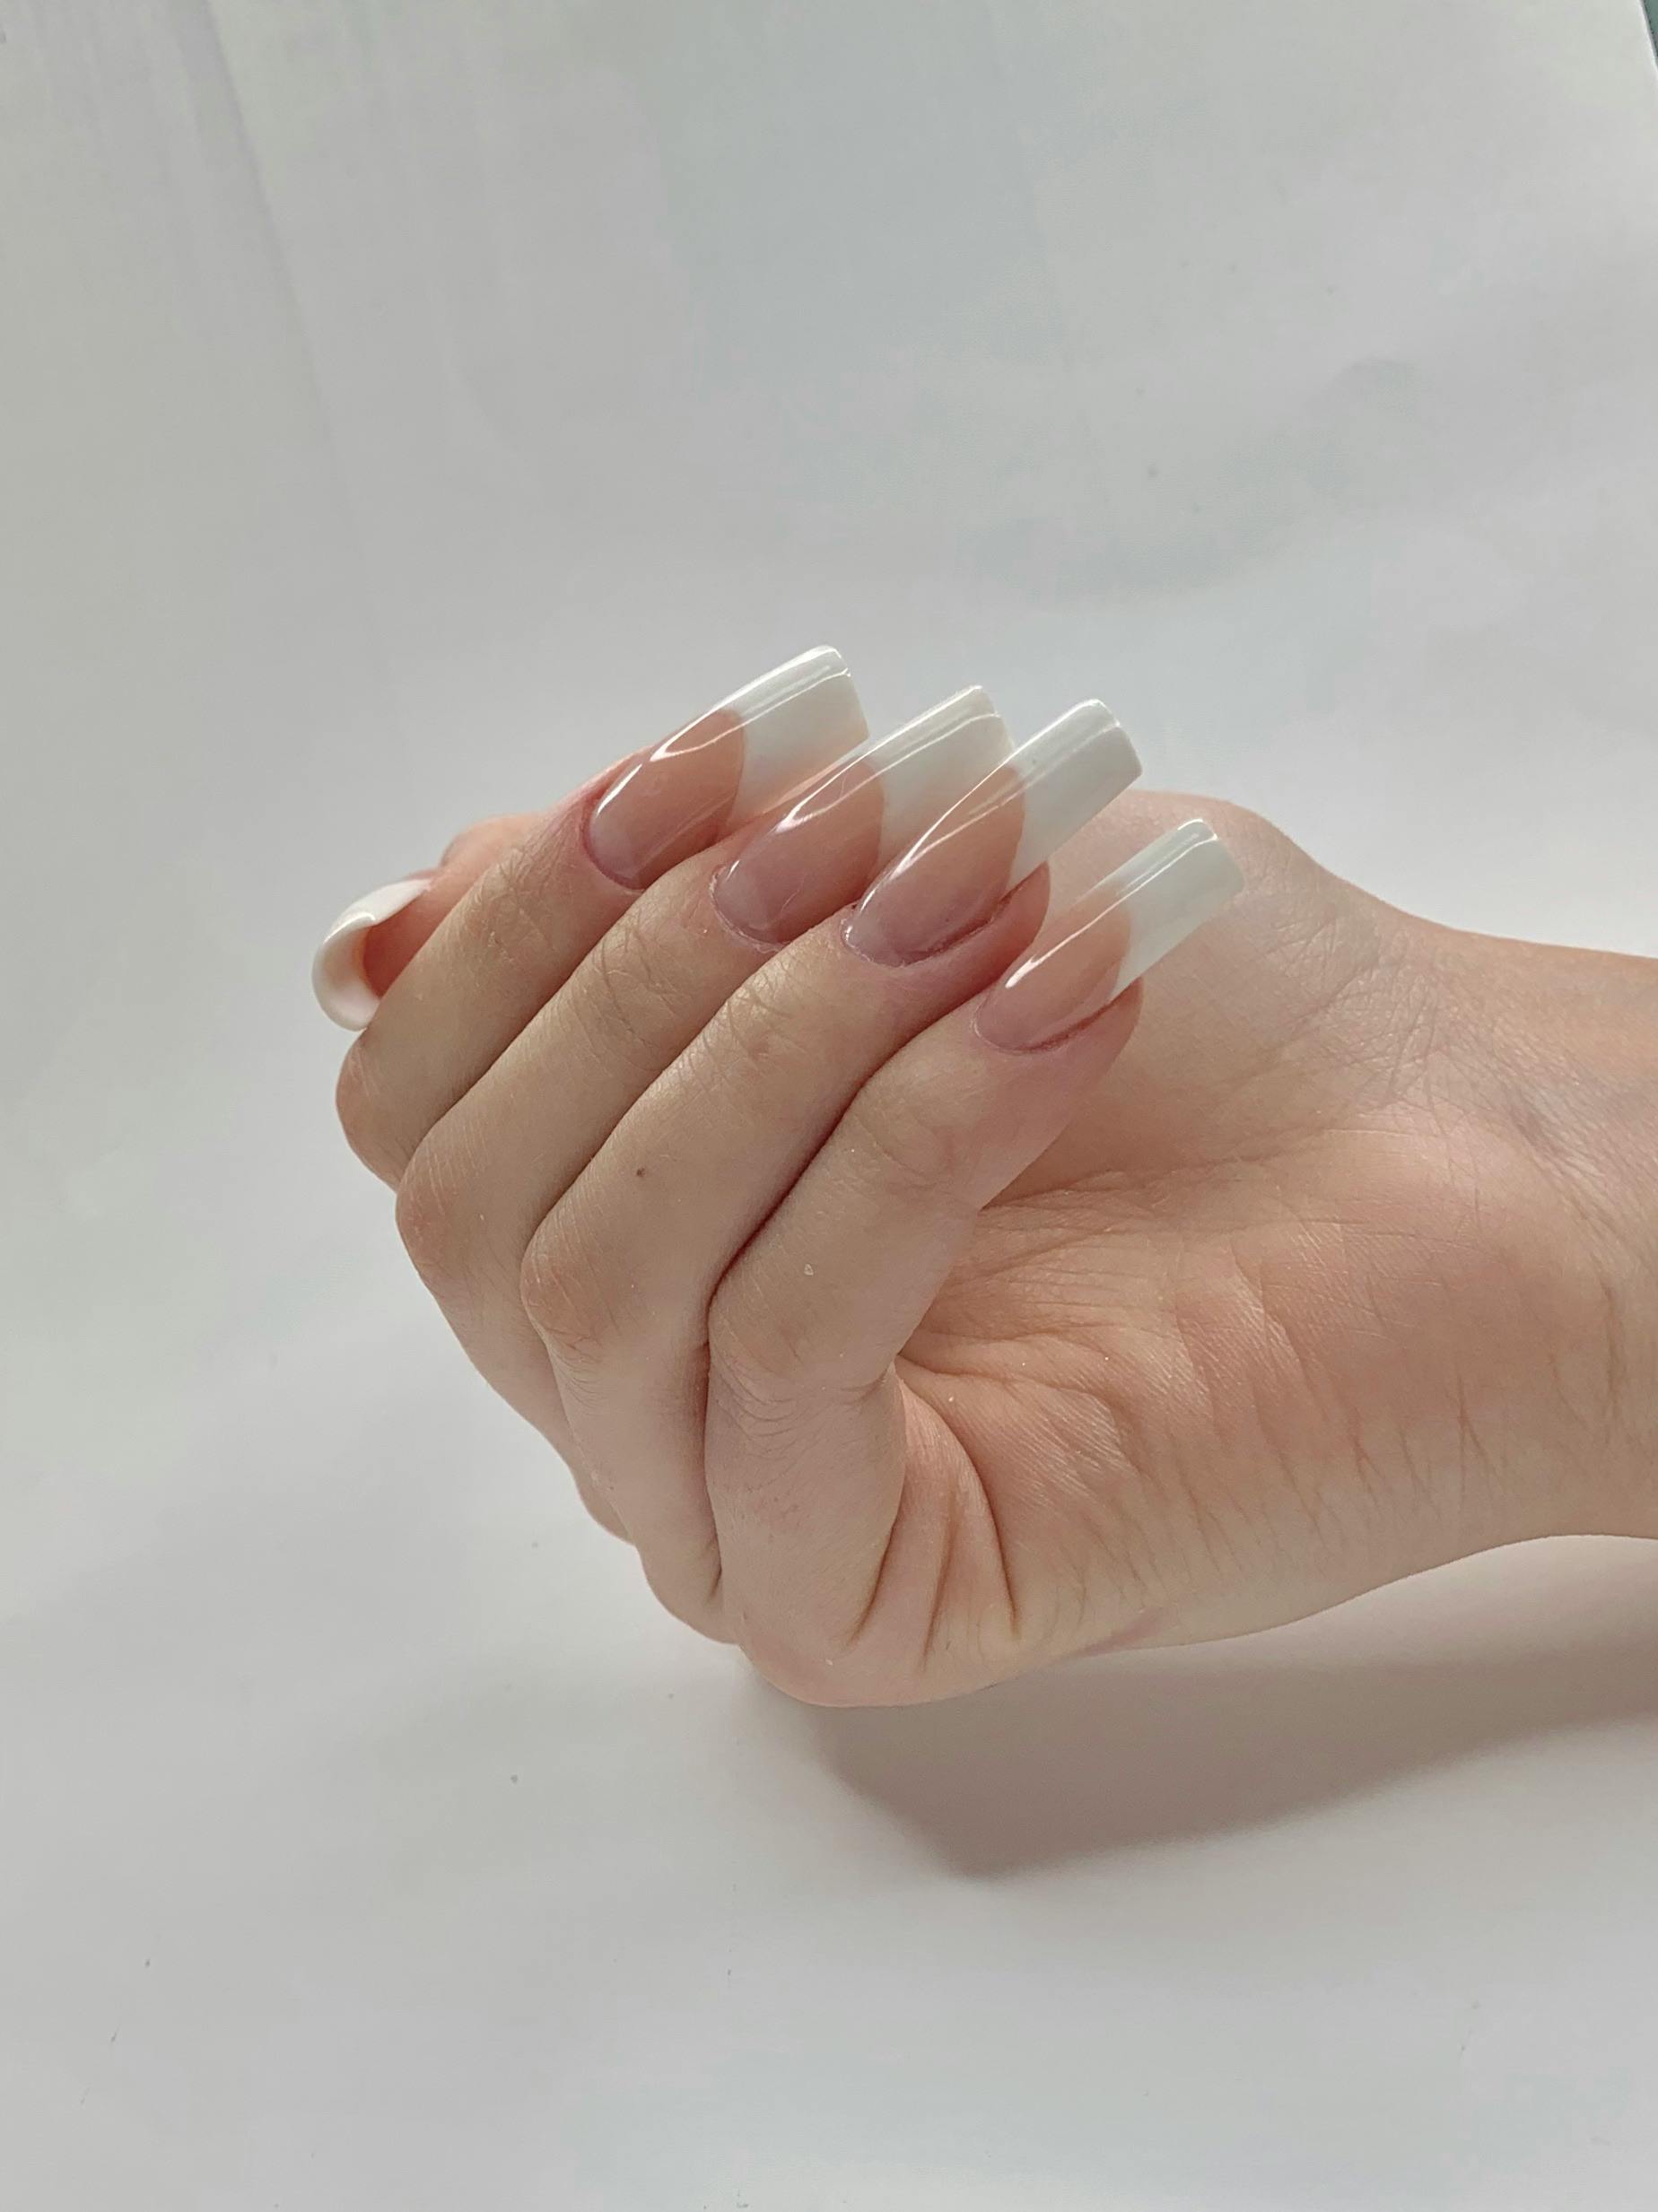
1. Classic French Tip Nail Design
The traditional French tip nail design is stylish for any occasion. It has a white tip and a neutral or pink base. This makes it clean and complicated.
Step-by-Step Tutorial
To get a classic French tip at home, comply with these steps:
- Prep your nails: Clean and form your nails into your favored form.
- Apply a base coat: Use a clean base coat to guard your nails and sell even polish utility.
- Apply the base coloration: Use an impartial or pink polish for the base shade and allow it to dry completely.
- Create the top: Use a white polish and a nail guide or decal to create a specific tip. You also can freehand it in case you’re skilled.
- Finish with a pinnacle coat: Apply a clean pinnacle coat to seal your design and upload shine.
Step Materials Needed Tips 1. Prep your nails Nail clippers, nail file Shape your nails carefully to avoid breaks 2. Apply a base coat Clear base coat Protects your nails and promotes even polish application 3. Apply the base color Neutral or pink polish Let it dry completely before moving to the next step 4. Create the tip White polish, nail guide or sticker Use a steady hand or a guide for a precise tip 5. Finish with a top coat Clear top coat Seals your design and adds shine
Common mistakes to escape
While creating a classic French tip, see for these common mistakes:
- Uneven Tips: Use a nail guide or sticker to ensure a straight line.
- Smuding: Allow each layer to dry completely before applying next.
- Wrong polish color: Choose a neutral or pink base that complements your skin tone.
By following these steps and avoiding normal mistakes, you can get a beautiful classic French tip nail design at home.
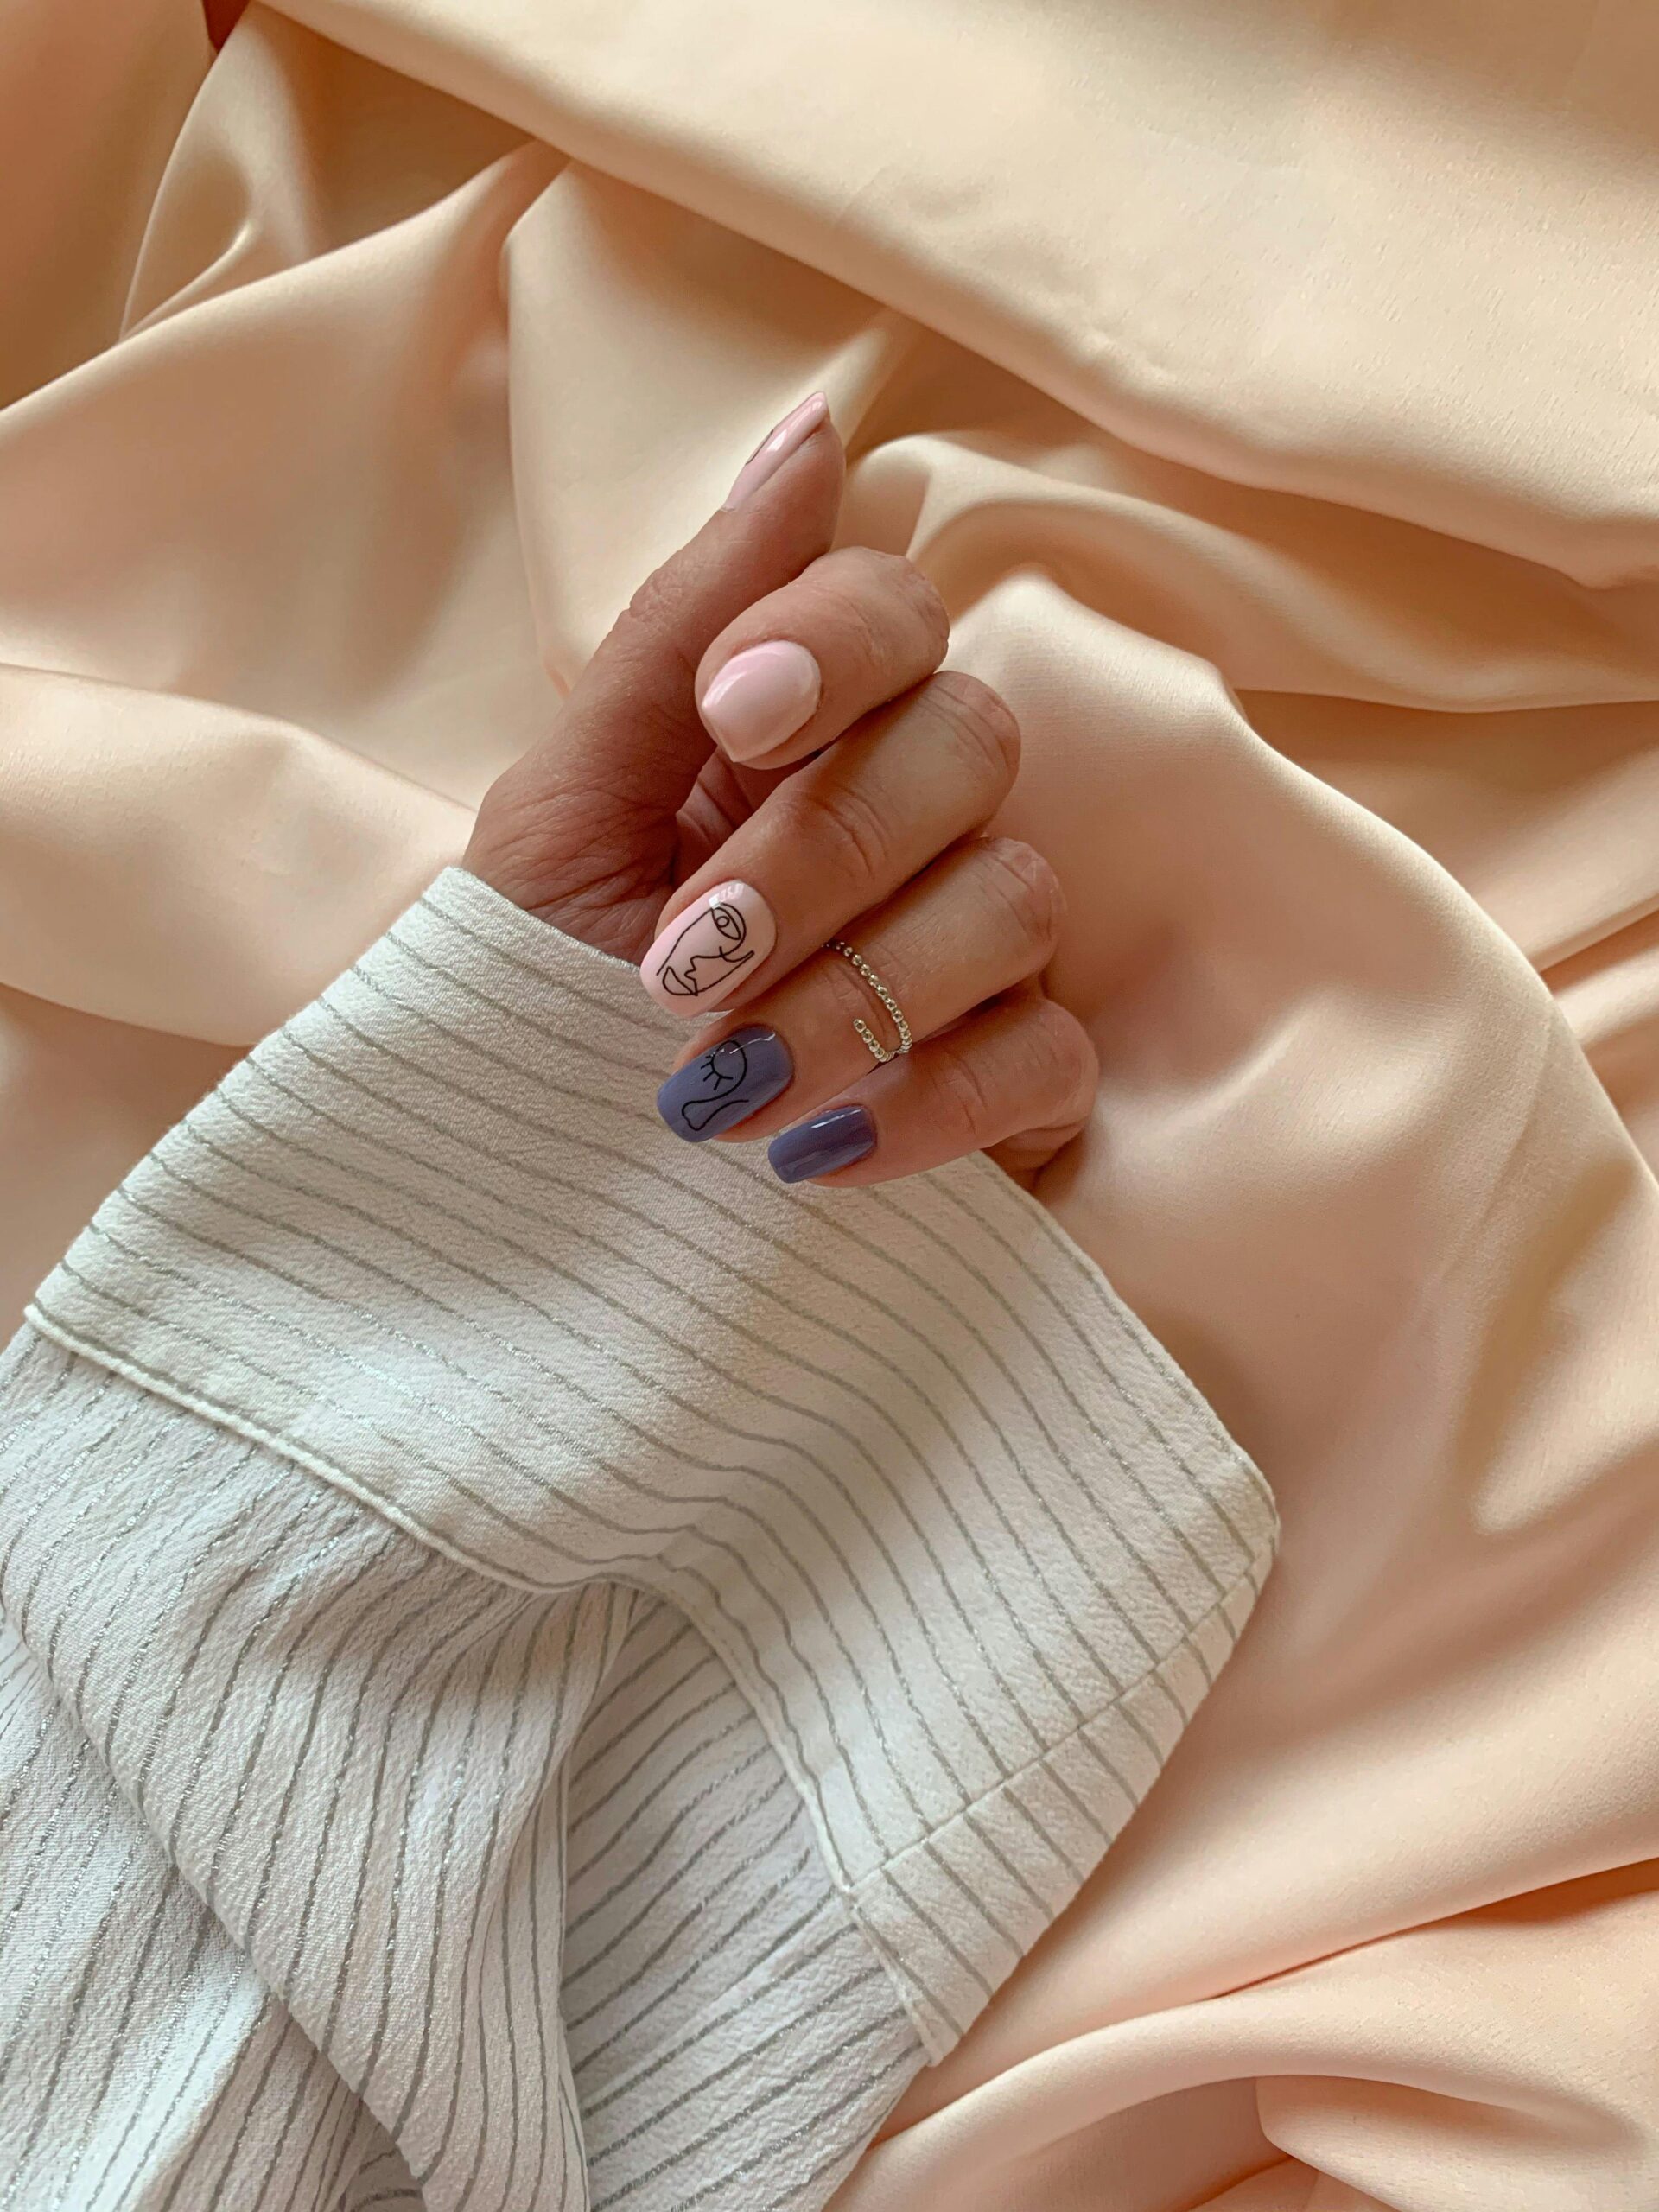
2. Colored French Tip Nails
Colored French tip nails are a fresh twist on a classic look. They allow you to upload your very own fashion and creativity. You can fit your nails on your mood, outfit, or any unique event.
Step-by way of-Step Tutorial
To get colored French tip nails, begin with a base coat. Then, choose a base polish color. For the tip, pick out a color that goes nicely along with your base.
Key steps encompass
- Apply a base coat to defend your nails.
- Choose and apply your base polish colour.
- Use nail guides to paint on the coloured French tip.
- Finish with a top coat to seal your layout.
Color Combination Ideas
Try out exclusive color combinations for unique looks. Here are some ideas:
- Pastel Hues: Soft pastels with white or light recommendations look smooth and romantic.
- Bold Contrasts: Bright colours like crimson or coral with a neutral base make a ambitious declaration.
- Metallic Accents: Metallic polish in your tips provides a highly-priced touch.
Don’t be afraid to combine colors and finishes. Find the best mixture that indicates off your fashion.
3. Glitter French Tip Design
Lift nail art with a glitter French tip. It is stylish and eye -catching. It is perfect for special occasions or everyday clothes.
Step-by-step training
Start by preparing your nails with a base coat. This prevents dyeing and helps Polish stuck better. Then use a white pointed guide or sticker to define the tip of the nail. Paint the tip of your nail with glitter polish. Follow the curve for your nail. Use a small brush for a precise application. When dry, remove the dining guide or sticker. Apply a top coating to seal the glitter. Finish with clear top coats around the nail ties to prevent dyeing.
Tips for long -lasting glitter application
Follow these tips to make your glitter last, follow these tips:
- Use a good quality glitter polish: a well -formulated Polish sticks better and chips less.
- Apply thin coats: Thin coats dry faster and avoid collecting the nail.
- Sealing with a strong top coat: A good top coat extends the life of your glitter nail art.
Avoid using nails as a tool: This prevents the tile and damage to the nail and polishing. By following these steps and tips, you can get a beautiful glitter French tip. It gives glamor to your look. Either for a special event or everyday style, Glitter French tip is a good choice.
4. Ombre french tip nails
Step-by-step tutorial
- Present your nails: Clean your nails and shape. Apply a base coat to save them and help in Polish Stick.
- Apply base color: Choose an base color that matches your desired ombre. Apply one to two coats depending on the ambiguity of Polish.
- Create the Ombré effect: Choose two or more colors for your shield. Use a makeup sponge to press the colors on your nail, start the light on the tip and dark on the cuticle.
- Blend the colors: Blend colors with a clean makeup sponge or a conclusion brush. It creates a smooth transition between colors.
- End with the top coat: Seal your design with a top coat. It adds glow.
A seamless gradient is important for a great ombre French tip. Here are tips for an ideal shield:
- Choose the color carefully: Choose the color close to each other on the color wheel for a natural shield.
- Use the right tool: A makeup sponge is best for an ombre effect, as it allows for soft apps.
- The practice makes correct: Some efforts can be made to correct it. Keep practicing for a smooth shield.
- When you go, clean: Use a cotton swab or nail polish remover to fix the mistakes or as you work.
Follow these steps and tips to make stunning ombre french tip nails. Try different colors and techniques to find your favorite look.
5. Reverse French tip design
This design is a curve on the classic French tip. Instead of normal, it puts a colored tip on the cuticle. There is a new and stylish way of nailing.
Step-by-step tutorial
To get the opposite French tip, follow these steps:
- Prepare the nail by cleaning and shaping it.
- Apply a base coat to protect the nail.
- Use a nail guide or sticker on the cute area to create a straight edge.
- Paint the area between the guide and the cuticle with your chosen nail polish color.
- Carefully remove the guide to reveal the crisp line.
- Finish with a coat above to seal the color.
Styling tips and variations
The opposite French tip is very creative. Try different colors like soft pastels or bright. You can also add glitter or metal to shine.
For a bold look, use contrasting colors for the tip and the rest of the nail. To make it even more special, try nail art. You can ombr or stamping. This allows you to make the design really yours.
6. Chevron french tip nails
Chevron French tip nails are a great turn on the classic French manicure. They will add modern contact with the chevron pattern. To get this look, you need some special tools and practice. You can use nail guides or stickers to create a chevron design. This makes it easy for beginners.
Step-by-step tutorial
First, prepare your nails with a base coat. After that, paint the whole nail with a neutral or white polish. Use nail guides or stickers to draw a chevron pattern.
Paint on the guides with your color. After that, remove the guides to show clean lines.
- Apply a base coat to protect your nails.
- Paint the nail with a neutral or white polish.
- Use nail guides or stickers to create a chevron design.
- Paint on the guides with your chosen color.
- Carefully remove the guides to reveal the chevron pattern.
Making clean lines and angles
The key is to get clean lines and a certain angle for Pro Luke. Use good nail guides or stickers for this. They help create a sharp, defined edge. Practice makes perfect.
There may be a few efforts to make it right. Try different colors and guide placements to find your favorite.
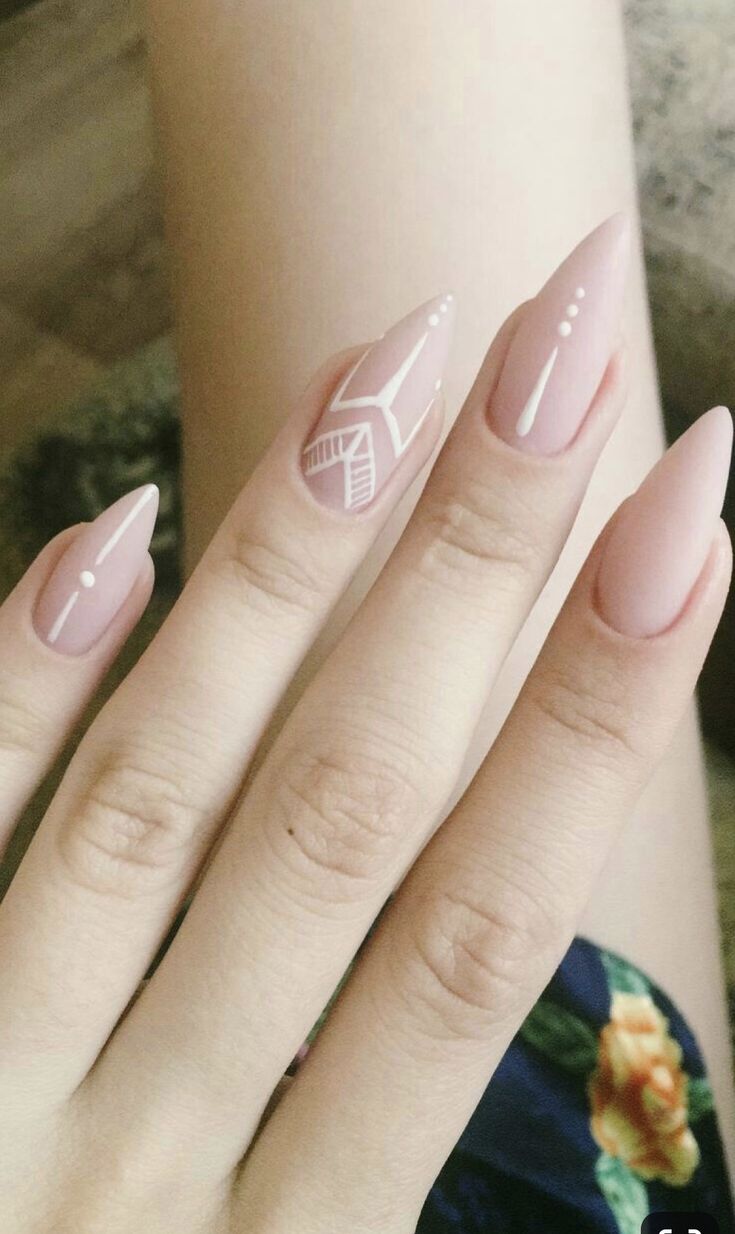
7. Lace French Tip Design
Lace French pointed nails are a beautiful twist on the traditional French nail cutting. They supply a hint of delicacy and charm. This design is perfect for people who want to feature a romantic and feminine contact to nail art.
Step-by way of-step education
Making a lace French tip design requires some skill and endurance. But with the proper gear and techniques you can achieve a extremely good appearance. Here is a step-by using-step manual:
Begin by using getting ready the nails with a base coat and permitting it to dry completely.
- Apply a white or mild colored sprucing to the end of the nail. Use a bad guide or sticker to create a pointy line.
- Use a nail art brush or a satisfactory piping nail art tool to paint lace patterns on the nail.
- You can use a nail polish made for nail artwork or a unique lace nail polish.
- Seal designed with a pinnacle coat to protect it and upload shine.
Tools for detailed lace patterns
To reap particular lace patterns, you need the right equipment. Some critical tools include:
- Nail Art Brushes: These are available in extraordinary sizes and are used to create great information and patterns.
- Nail guides or stickers: These help you create a immediately edge and prevent the polish from coming for your nail.
- Lace nail polish: Some polishing dealers are mainly designed to make lace patterns.
- Nail Art Dotting Tools: These may be used to make small dots and patterns.
By using those equipment and strategies, you can create a lovely lace French tip design. It gives a touch of beauty to your nail artwork.
8. Metallic French Tip Nails
Elevate your nail game with metallic French tip nails. This appearance is smooth and present day. It provides sophistication and glamour on your appearance.
Step-by using-Step Tutorial
Creating metallic French tip nails is simple. You need primary nail care equipment and exercise. Here’s how to do it:
- Prep your nails: Clean and form your nails for your preferred shape.
- Apply a base coat: Use a clean base coat to guard your nails and sell polish adhesion.
- Apply metal polish: Paint the end of your nail with metallic polish. Use a nail manual or tape for a clean line.
- Finish with top coat: Apply a clear top coat to seal to your design and add shine.
Working with Metallic Polishes
Metallic polishes may be complicated. But with a few tips, you may get a ideal end.
- Choose the right brush: A correct great brush facilitates with clean utility.
- Apply skinny coats: Thin coats prevent streaking. Let every coat dry earlier than including the next.
- Use a nail manual: A nail manual or tape enables with a easy line, despite steel polish.
Follow those steps and hints for stunning metallic French tip nails. They’re sure to make a announcement.
9. Double French Tip Design
Elevate your nail sport with the state-of-the-art double French tip layout. It’s a contemporary twist at the conventional French nail filing. This elegant variant provides an additional layer of elegance. It’s best for folks who need to face out.
Step-with the aid of-Step Tutorial
Creating a double French tip layout requires some precision. But with the proper gear and practice, you may do it at domestic. Here’s how:
Start by prepping your nails with a base coat. This prevents staining and allows polish stick higher.
- Apply a neutral or nude polish because the base color. Let it dry completely.
- Using a French tip guide or a nail sticker, paint the first tip with white polish. Let it dry.
- Apply a second coat of white polish if essential. Let it dry once more.
- For the second tip, pick out a contrasting shade. Carefully paint it simply under the first tip.
- Finish with a pinnacle coat. This seals the layout and adds shine.
Color Pairing Suggestions
The key to a exquisite double French tip is selecting hues that supplement every different. Here are a few nail colour pairing thoughts:
- Classic and Bold: Pair conventional white with a formidable pink or coral for a hanging contrast.
- Pastel Paradise: Soft pastel sun shades like pale pink and baby blue appearance adorable together.
- Metallic Magic: Combine metallic colours like gold and silver for a high-priced finish.
- Neon Twist: Add a neon coloration as the second tip for a fun and present day twist.
Experiment with exceptional color mixtures. Find the appropriate appearance that suits your fashion and event.
10. Seasonal French Tip Designs
As the seasons trade, you could update your nail designs. This continues your manicure fresh and in fashion all 12 months.
Spring and Summer Inspirations
In spring and summer, attempt brighter shades and amusing designs. Pastel sun shades and floral styles are wonderful. They add warm temperature and vibrancy.
Here are some ideas for spring and summer French hints:
- Soft crimson or toddler blue pointers with white or clean bases
- Floral or leaf designs on suggestions or bases
- Glitter or shimmer finishes for shine
Fall and Winter Variations
When it gets cooler, exchange your French tip designs. Use richer colorations like burgundy, emerald green, and army blue. Metallic and glitter finishes upload festivity.
Here are a few ideas for fall and wintry weather French pointers:
- Deep purple or berry guidelines for a seasonal appearance
- Metallic silver or gold accents for luxury
- Snowflake or holly designs for joyful celebration
Conclusion
French tip nails had been cherished for a long term. They are famous because they’re each elegant and flexible. We mentioned many designs and approaches to lead them to, from antique to new.
Looking for a classic or a cutting-edge appearance? French tip nails can do all of it. By learning the strategies from this text, you may show off your style along with your nails.
Want to get salon-pleasant nails at domestic? It’s viable with the proper gear and practice. Try out special designs and strategies to discover your favorite. Remember, the name of the game to exceptional nails is listening to information and being open to attempting new things. Happy nail crafting!
